
You can preview how your consent popup looks and behaves before publishing it.
In this article, we’ll show you how to use the preview feature.
Before you start
Here are a few things to know before you start:
- The preview feature requires frontend library version 2.1.0 or later. For example, the script URL for version 2.1.0 is
https://policy.app.cookieinformation.com/v2.1.0/uc.js. - You can preview your consent popup in both the visual editor and developer mode.
Preview your consent popup
To preview your consent popup before publishing, follow these steps:
1. Log in to Cookie Information.
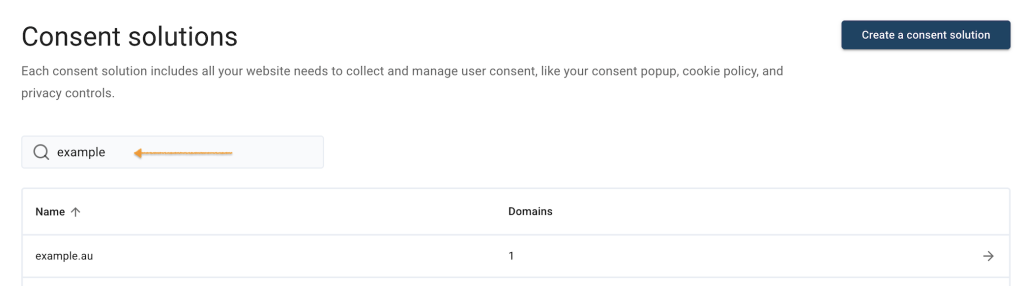
2. In Consent solutions, find the consent solution you want to edit the consent popup template.
3. Go to Consent popup > Template gallery.
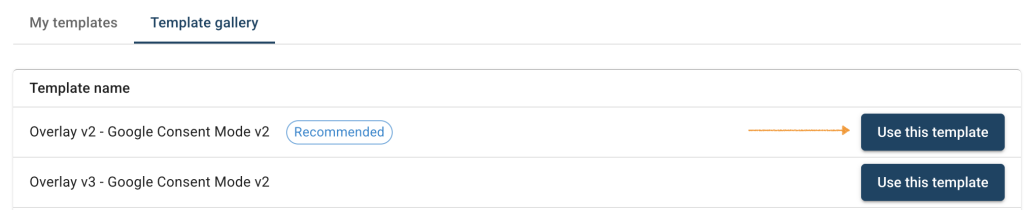
4. Find the template, and click Use this template next to its name.
5. In Customize your template, you can style your template.
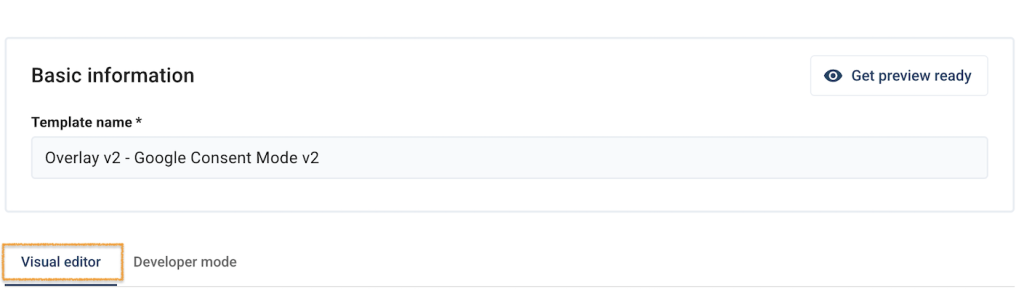
6. Let’s say you want to change the buttons background color. Go to Visual editor.
Note: In the visual editor, settings are grouped into sections:
- Toggles – Adjust colors and style for toggle switches.
- General appearance – Set background and overlay colors, border radius, spacing, and overall layout.
- Typography – Choose fonts and size, and link appearance.
- Buttons – Set up button colors, hover states, and border radius.
7. Go to Colors > Background.
8. Click the color box next to the Background field. This opens the color picker.
9. Use your mouse to drag the circle to your desired color.

Note: To change the color, you can also enter a HEX code, for example, #3c88ae, in the field, or adjust the RGB values at the bottom if needed.
10. Once you’ve picked your color, the color box and HEX field will update automatically.
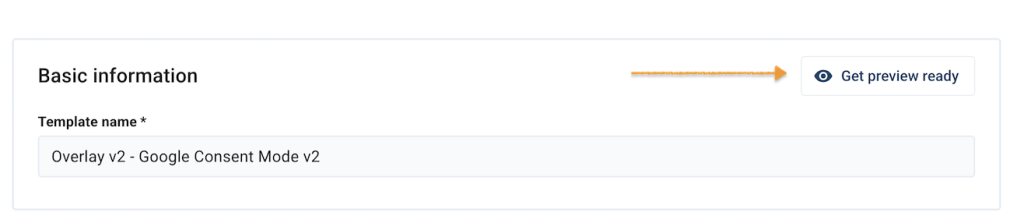
11. In Basic information, select Get preview ready.
Note: The preview works only if the installation code on your website loads consent library version 2.1.0 or later.
To check your version, find the installation code in the <head> section of your website and look for the version number in the uc.js script URL. If you’re using an older version or a URL without a version number, update the URL to point to the latest consent library.
See How to migrate to consent libraries v2.0.0 for instructions and important compatibility information.
12. In Preview your consent popup, enter your domain name.
Note: Enter the full URL, starting with https:// or http://. Include www. if your website uses it. For example, https://www.example.com.
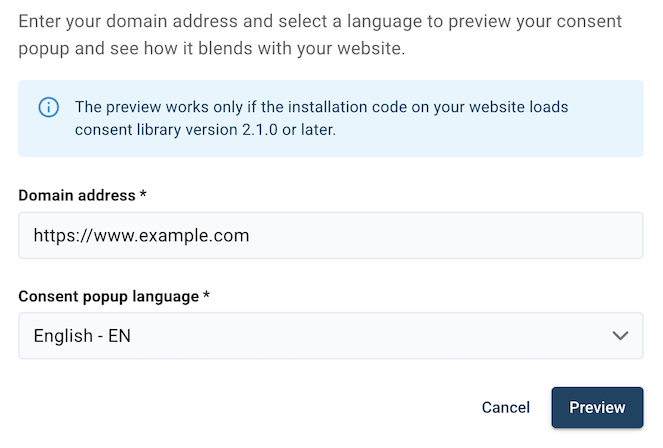
13. In Consent popup language, choose from the list the language of your popup.
14. Select Preview. The preview will open in a new tab.
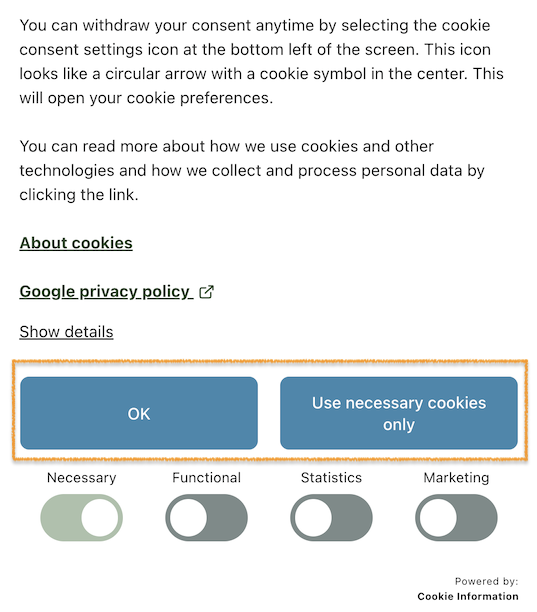
15. You can go back to editing and once you make more changes you can select Refresh preview.

16. Once you’re done editing the template. Select Save and publish.
Note:
- Clicking Save only saves changes to your template. To publish the updated template, click Save and publish.
- Changes to each template are saved separately. If you make changes without saving them, then make another change and reload the page, you’ll see the last saved version. You can still restore the unsaved draft.
- Changes to your consent template may take up to 10 minutes to appear on your domain.


