If you want to adjust the consent widget to your branding, you can change its icon. In this article, we’ll show you how to do it.
Before you start
Here are a few things to know before you start:
- The consent widget, the icon
 , is a feature that allows users to reopen the cookie consent popup on your website after they have initially made their choices. This widget works by default in Cookie Information Consent Management Platform.
Change the icon of the consent widget
To change the icon of the consent widget, follow these steps:
1. Log in to Cookie Information.
2. In Consent solutions, find the consent solution you want to change the consent widget.

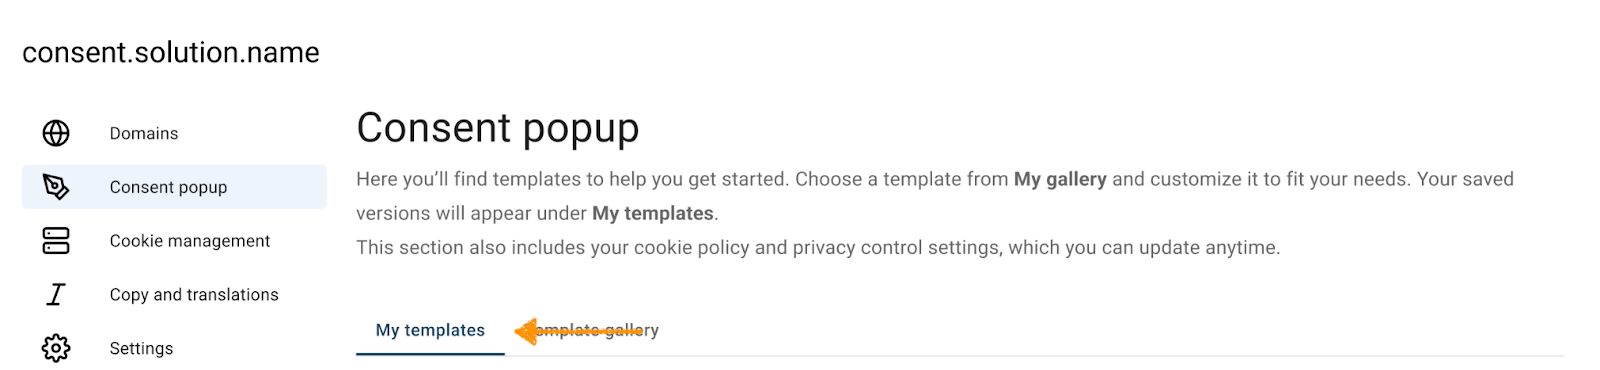
3. Go to Consent popup > My templates.
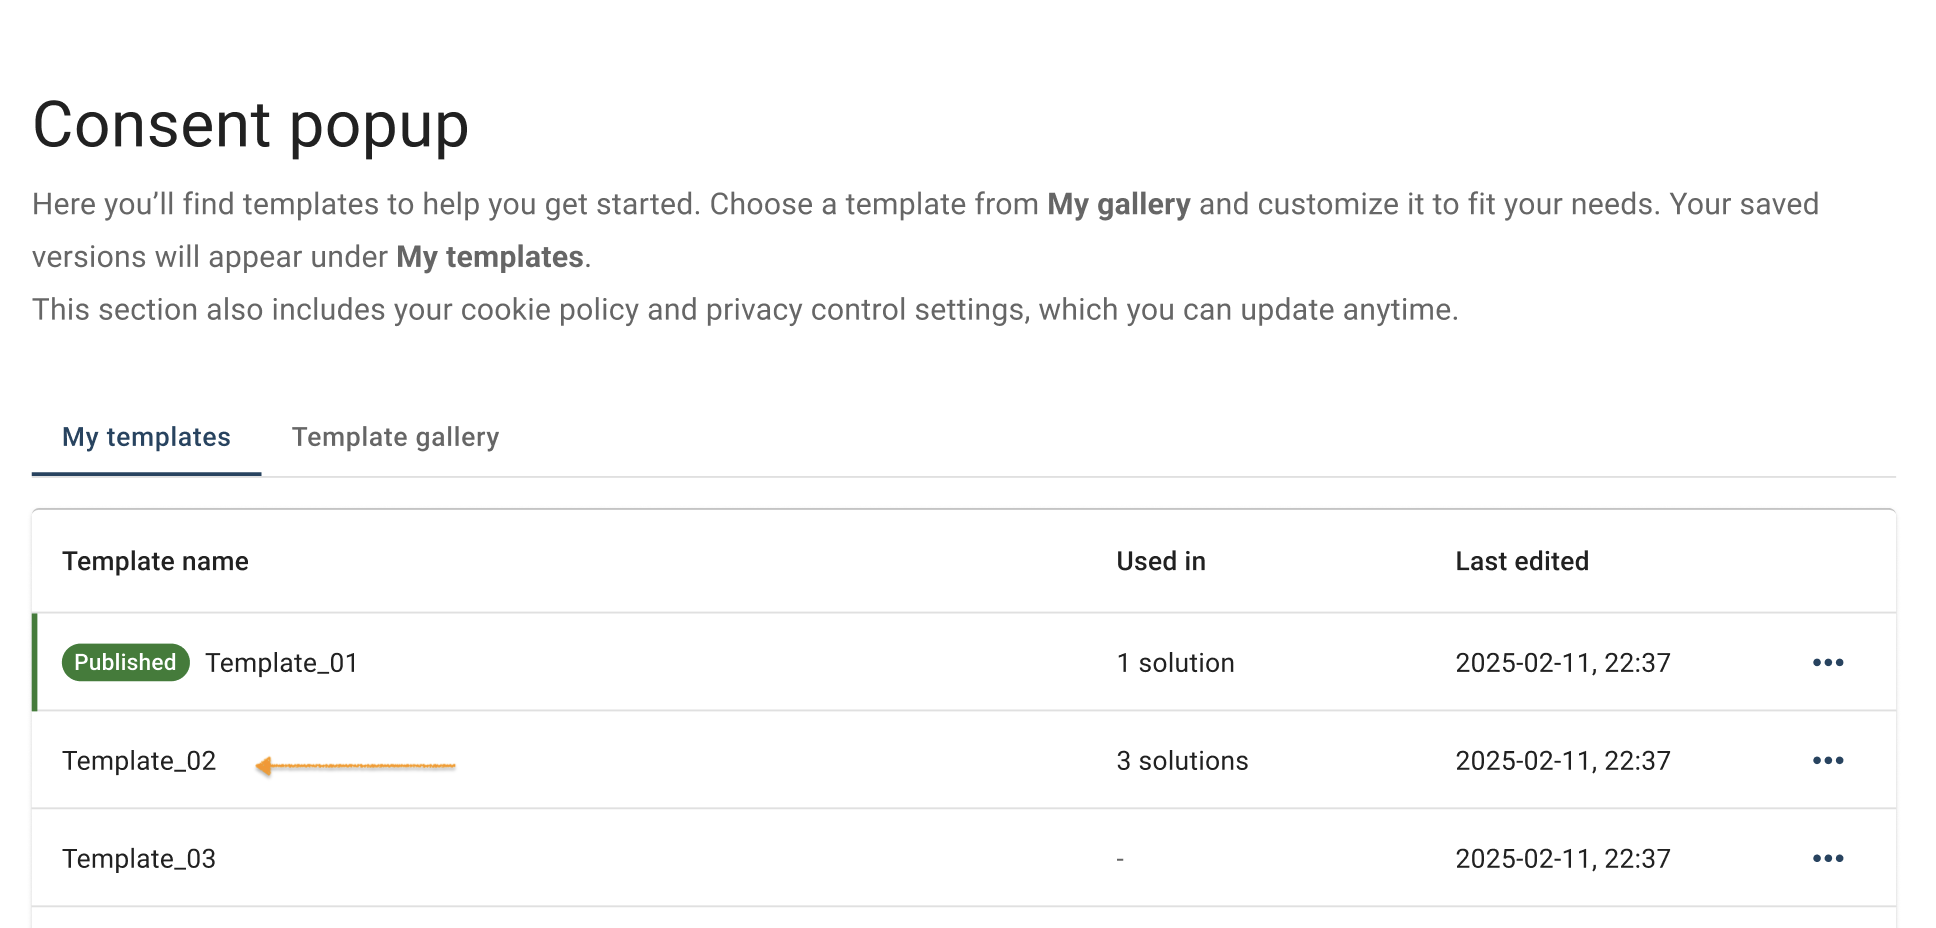
4. Find the consent template you want to edit.
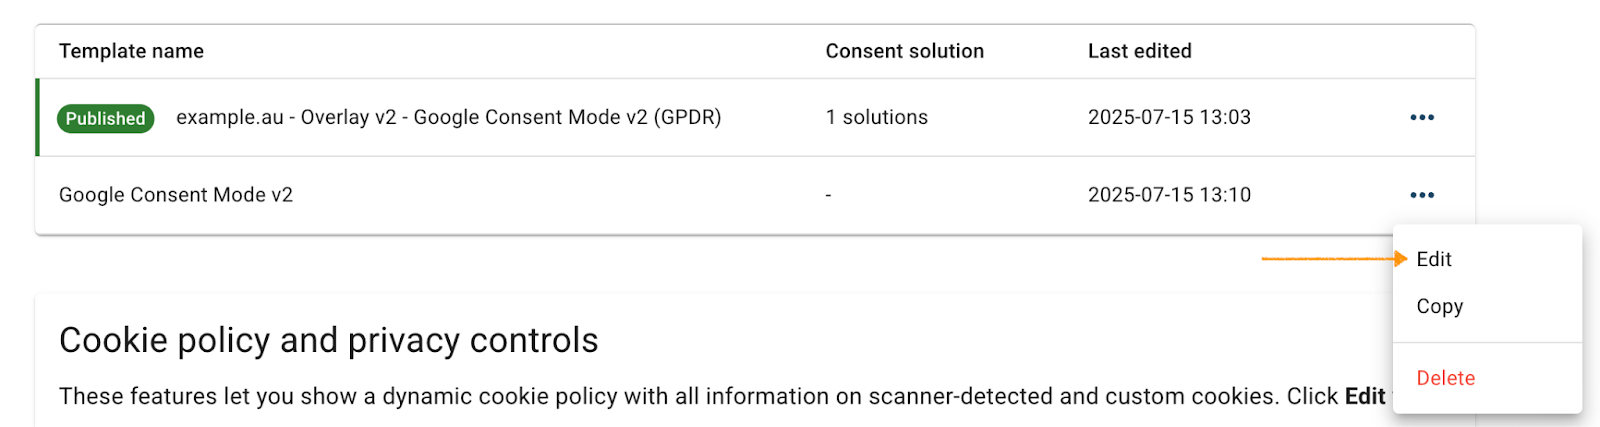
5. Click the ⋯ three-doticon next to the template name you want to change, then click Edit.
Note: The Published label shows which template is currently active for your consent popup:

5. In Template code, go to HTML.
6. Find and delete the following code:
<svg version="1.1" id="coi-renew-svg" xmlns="http://www.w3.org/2000/svg" xmlns:xlink="http://www.w3.org/1999/xlink" x="0px" y="0px"
viewBox="0 0 304.4 304.4" style="enable-background:new 0 0 304.4 304.4;" xml:space="preserve">
7. Paste the following code into the space where you removed the previous code:
<img src="https://yourWebsite.com/icons/Some-icon.png" alt="Renew cookie Pop-up button">8. Replace the “https://yourWebsite.com/icons/Some-icon.png” URL with the URL of an image of your choice.
9. Click Save and publish.
Note: ClickingSave only saves changes to your template. To publish the updated template, click Save and publish.
10. Done.