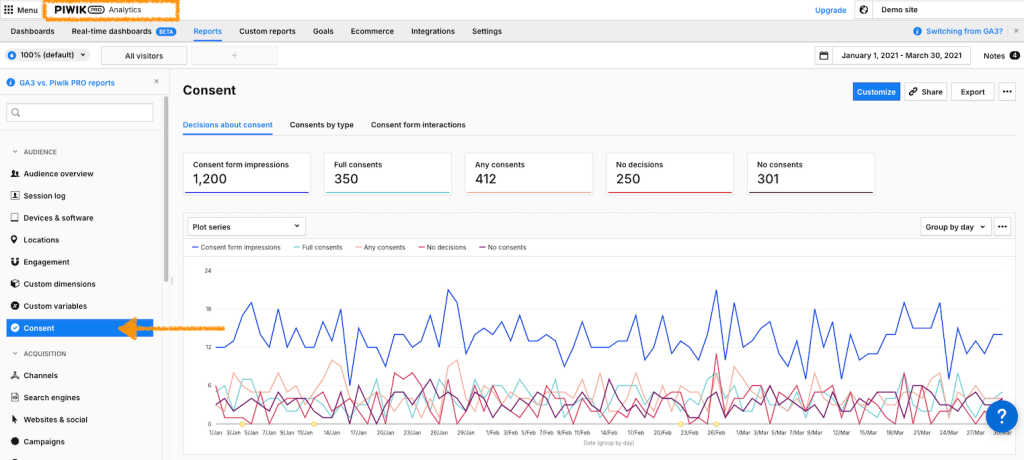
Your license includes access to two tools:
- Piwik PRO Analytics Suite
- Cookie Information Consent Management Platform (CMP)
Both tools work together: Cookie Information collects user consent, and Piwik PRO collects analytics data based on that consent.
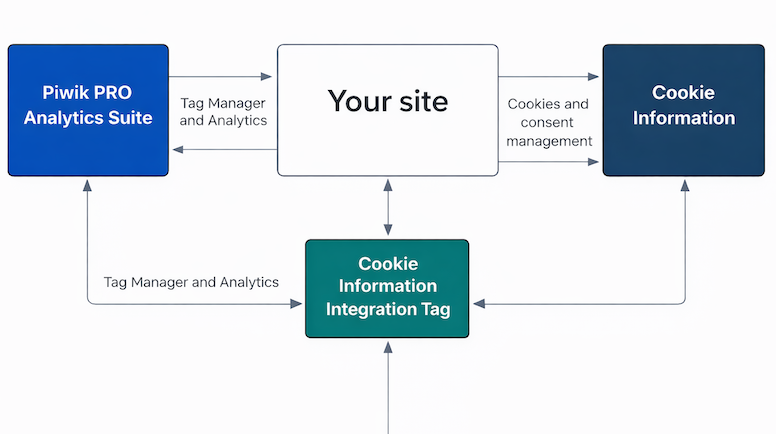
In this article, we’ll walk you through setting up Cookie Information and Piwik PRO from scratch.
If you’re using the trial onboarding
If you created your account through a Cookie Information trial, you may see an in-app setup wizard.
Follow the steps in the wizard to:
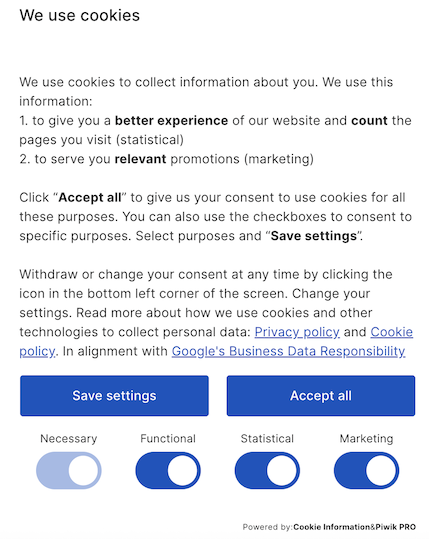
- choose the popup language
- copy the script
- add the script to your website
Once the consent popup is installed, continue with this guide to connect Cookie Information with Piwik PRO.
Before you start
Here are a few important things to know before you start:
- Piwik PRO collects analytics data and Cookie Information collects user consent on your website. Connecting them ensures you collect data only after consent.
- When you create your account for the first time, you’ll get a trial account where a few steps might be different than those on your paid account. The trial lasts 30 days.
- To set up Piwik PRO and Cookie Information for the first time, you’ll need to:
- Create a consent popup
- Install Cookie Information on your website
- Install Piwik PRO
- While installing Piwik PRO, you’ll connect both tools.
- You need access to:
- Your website code
- Cookie Information
- Piwik PRO
Set up Cookie Information for the first time
In this section, you’ll set up Cookie Information and install the consent popup on your website.
Set up your domain and install the consent popup
1. Log in to your Cookie Information account.
2. In Domain address, enter the domain name where you want to use Cookie Information CMP. You can add more domains later if your setup needs them.
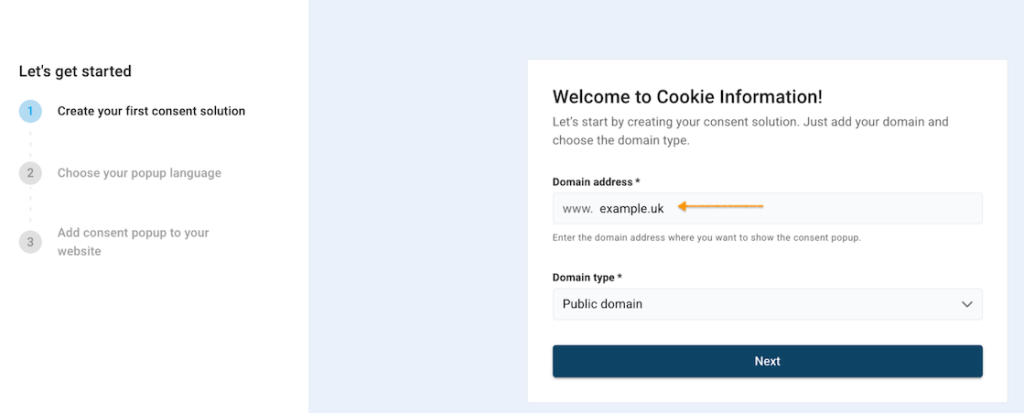
3. Select Domain type. Read more
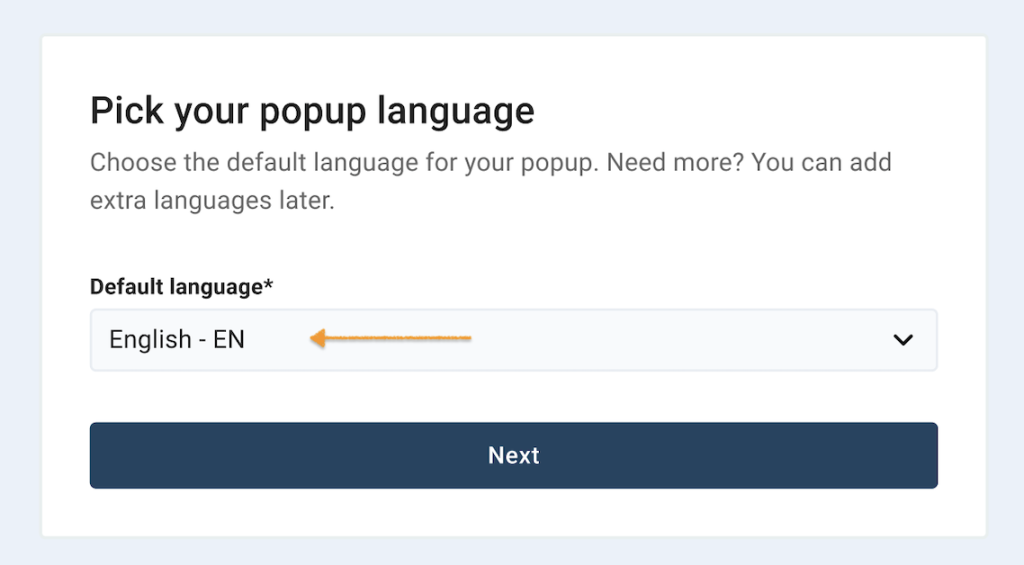
4. In Default language, choose the language for your popup. You can add more languages later.
5. Copy the Cookie Information installation script:
<script id="CookieConsent"
      src="https://policy.app.cookieinformation.com/uc.js"
data-culture="EN" data-gcm-version="2.0" type="text/javascript"></script>Note:
- The
data-culturevalue sets the language of the consent popup. This example will be displayed in English. Set the data-culture attribute to a different language code to change the language. Make sure that the languages set in the script’sdata-cultureattribute match the languages set up in the platform. - To avoid problems, don’t change the consent popup script, except for the
data-cultureattribute. - If the
data-culturevalue in the script doesn’t match the language set in Cookie Information, the consent banner may not appear. Make sure these language settings match. If you still have problems, see our troubleshooting guide.
Supported data-culture values
Use the code that matches your language. For example:
- EN — English
- DE — German
- FR — French
See the table below for all supported languages.
| Data culture | Language | Data culture | Language |
|---|---|---|---|
| AR | Arabic | LT | Lithuanian |
| BG | Bulgarian | LV | Latvian |
| CA | Catalan, Valencian | MS | Malay |
| CS | Czech | NB | Norwegian Bokmål |
| DA | Danish | NN | Norwegian Nynorsk |
| DE | German | NO | Norwegian |
| EL | Modern Greek | NL | Dutch, Flemish |
| EN | English | PL | Polish |
| ES | Spanish, Castilian | PT | Portuguese |
| ET | Estonian | RO | Romanian |
| FI | Finnish | RU | Russian |
| FR | French | SK | Slovak |
| HE | Modern Hebrew | SL | Slovene |
| HI | Hindi | SQ | Albanian |
| HR | Croatian | SR | Serbian |
| HU | Hungarian | SV | Swedish |
| ID | Indonesian | TH | Thai |
| IS | Icelandic | TR | Turkish |
| IT | Italian | TW | Taiwanese |
| JA | Japanese | UK | Ukrainian |
| KO | Korean | VI | Vietnamese |
| KL | Greenlandic | ZH | Chinese |
6. Add the script as high as possible in the <head> section of your website.
Note:
- If you place it incorrectly, the setup won’t work.
- If the setup is correct, the consent popup will appear on your site within 10 minutes.
Optional: You can use another installation method. See our installation guides.
7. To confirm the installation, click I’ve added the script.
8. Your consent popup is now ready.
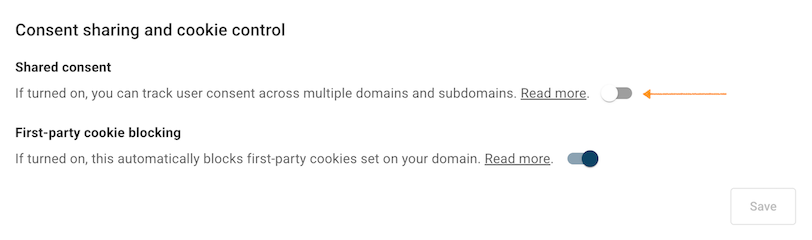
Note: Make sure Shared consent is turned off in Cookie management > Consent sharing and cookie control.
9. Done. You’ve created your first consent solution and installed your Cookie Information script to display the consent popup.
Tip: If you want to change more settings or customize the banner appearance, see our guides.
Install Piwik PRO
In this section, you’ll install the Piwik PRO container on your website. The container collects data about how people use your site. For other ways to install it, see our installation guides.
Note: To use the default integration between Piwik PRO and Cookie Information, you need a tag manager.
To install Piwik PRO, follow these steps:
1. Log in to your Piwik PRO account.
2. Go to Menu > Administration.
3. In Sites & apps, click Add a site or app.
4. Select Website.
5. Enter your site or app name and address.
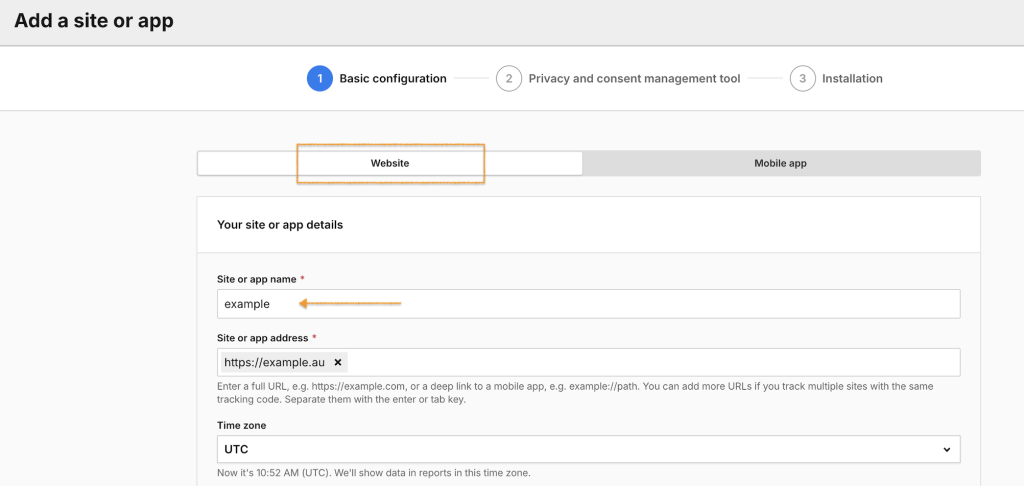
Note: You can add multiple domains to one site or app and track them using a single container code. Data from all domains will appear in the same reports.
If you want separate reports for each website, create a separate site or app for each one. Read more about sites and apps in Piwik PRO help center.
6. Set the time zone and currency.
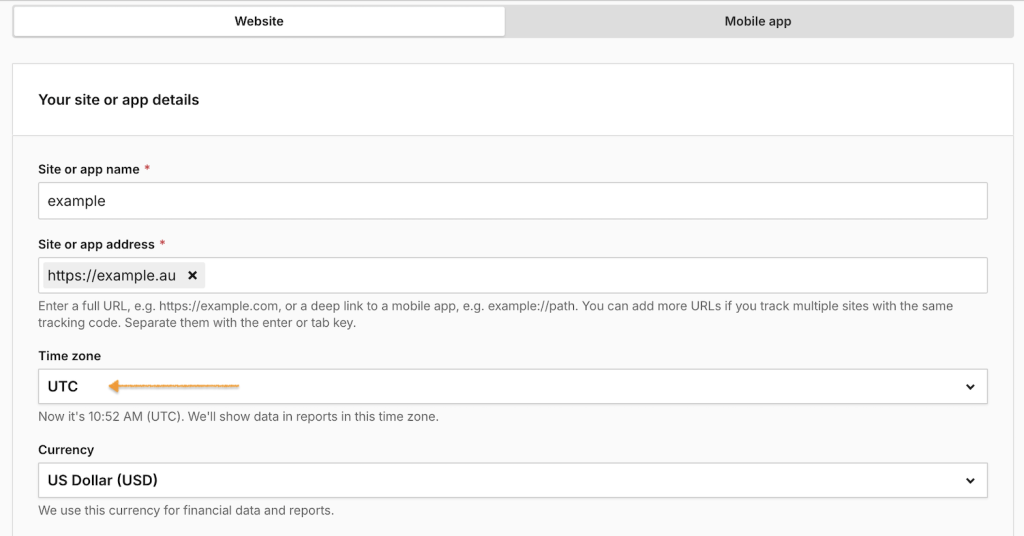
Note: We’ll show data in reports in this time zone. We’ll use this currency for the goal revenue.
7. Choose which reports you want to use in Piwik PRO Analytics.
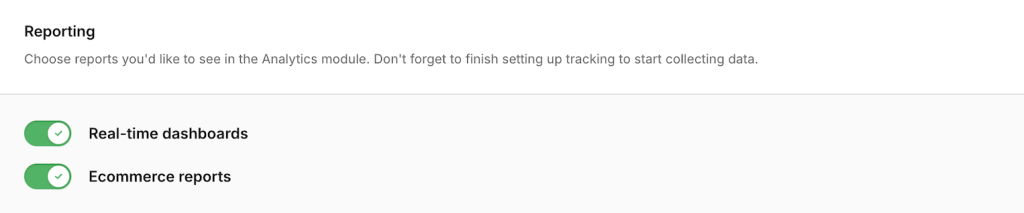
Note: Real-time dashboards and Ecommerce reports are turned on by default. Turn off any reports you don’t need.
8. Click Next.
9. In Consent management tool, select Cookie Information consent management tool.
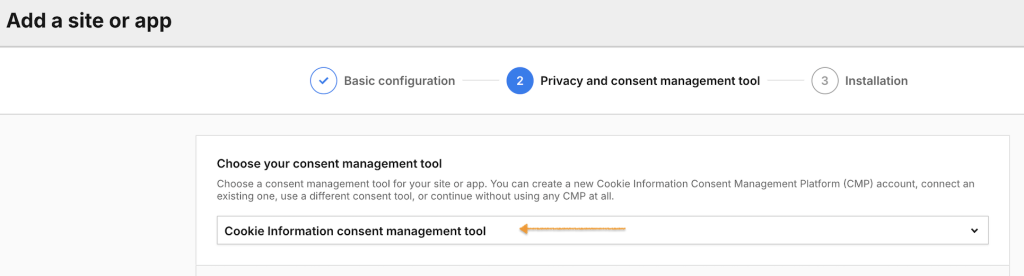
10. In Create an account, click Add it to connect your Cookie Information account.
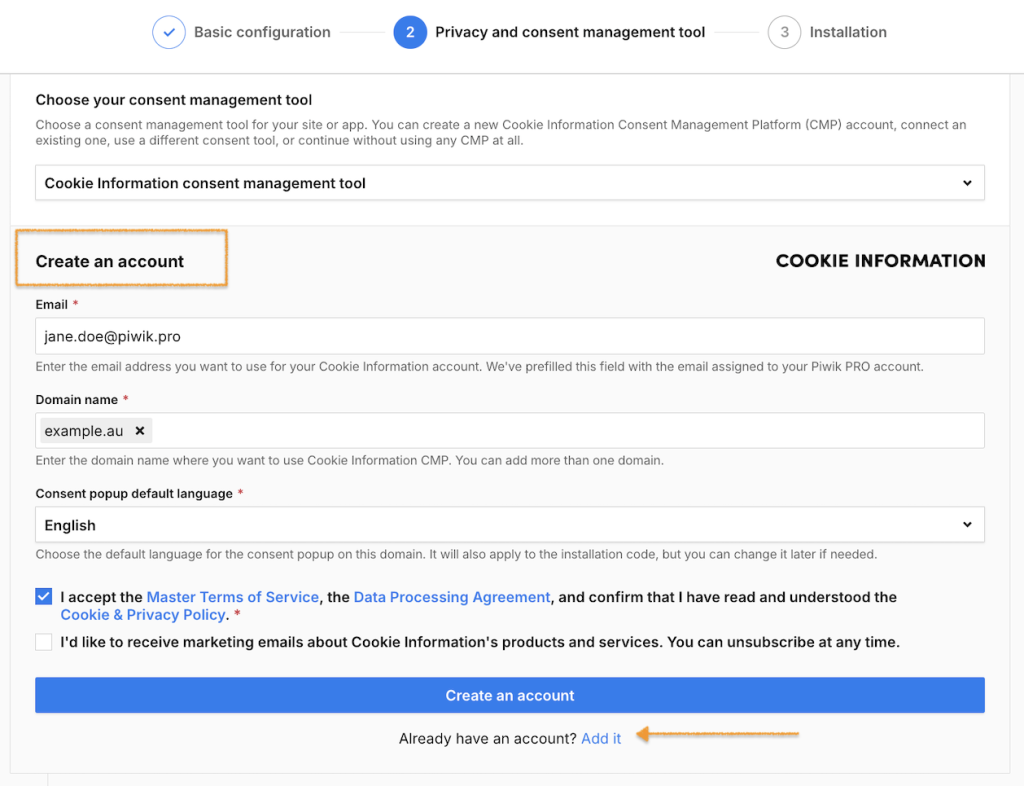
11. In Add your account, enter your Cookie Information account name.
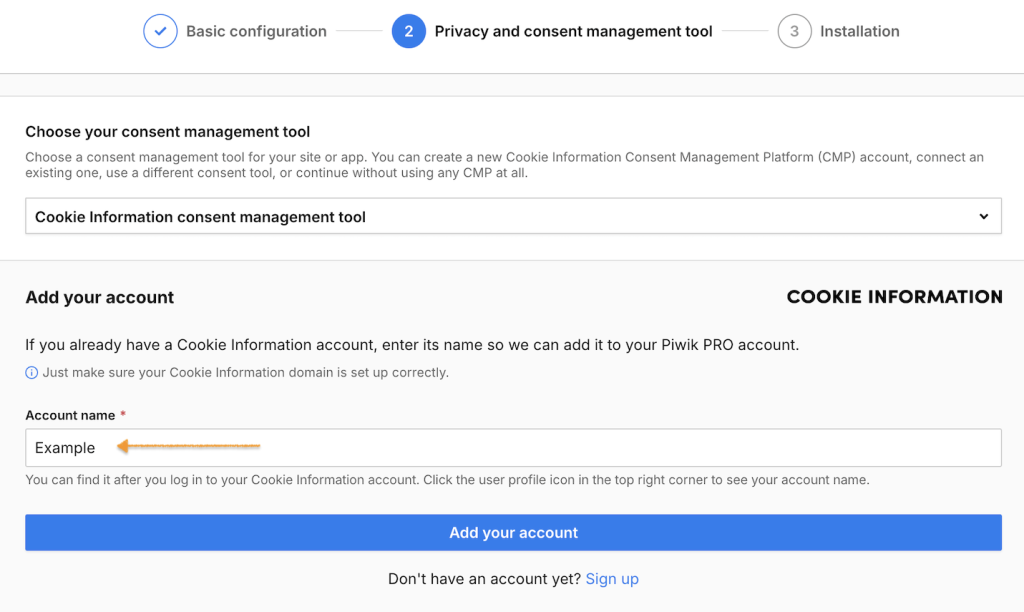
12. Click Add your account.
13. Choose what session and visitor identifiers you want to use.
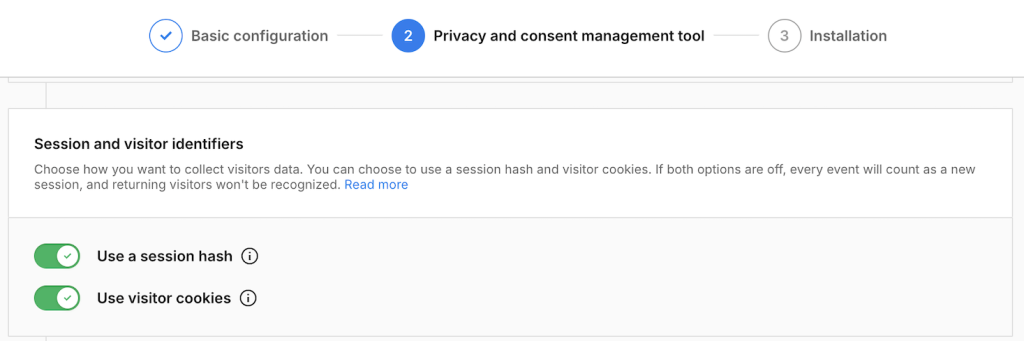
Note: Use a session hash and Use visitor cookies are turned on by default. Keep these settings or change them based on how you want to identify sessions and returning visitors. Read more in the Piwik PRO help center.
14. Review the anonymous data collection settings.
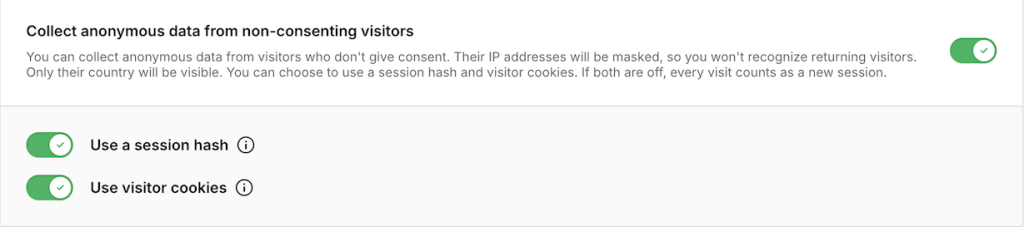
Note: Anonymous data collection is turned on by default. Use a session hash and Use visitor cookies are also turned on. Change these settings if you want to identify sessions differently for visitors who don’t consent. Read more in the Piwik PRO help center.
15. Click Save.
16. In Installing a tracking code select Install manually.
17. Click Copy to clipboard.
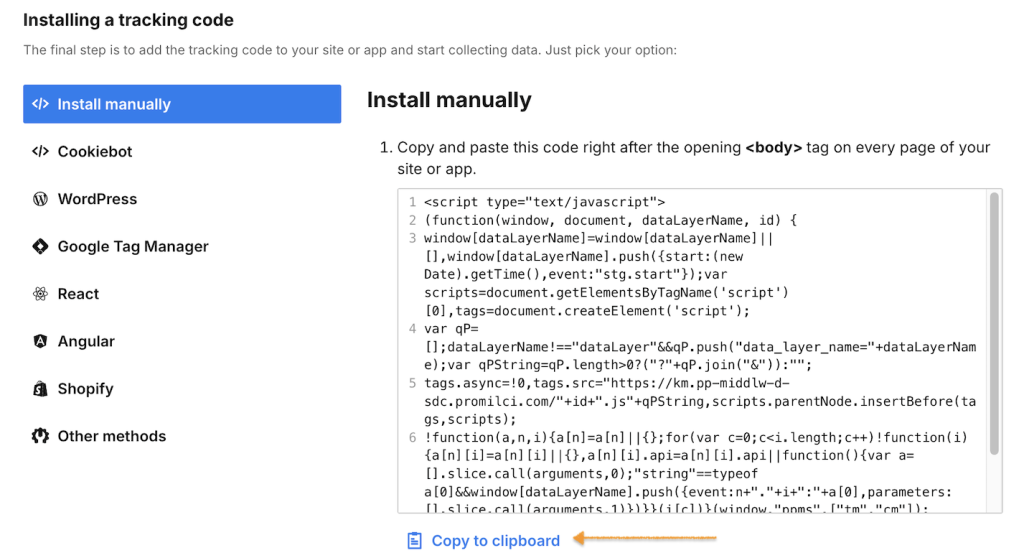
Note:
- Add the Piwik PRO script to your website’s
<body>tag. - See the Piwik PRO help center for guides on customizing your setup and setting up tags and reports.
18. Once you place the codes in the correct section of your website, go back to Piwik PRO and click Finish.
19. Data will appear in reports in about an hour. Data in the tracker debugger will appear instantly.
Tip: You can also check manually to see if your tracking works. Read more
20. Your integration with Piwik PRO is ready.
21. In Piwik PRO, go to Analytics > Reports.
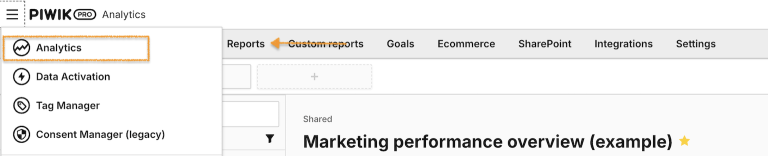
22. Go to Consent.