You can use the Cookie Information Mobile SDK to display a consent popup and collect user consents in your iOS app. Then connect it to the Piwik PRO SDK to analyze those consent decisions and collect data based on each visitor’s consent. This integration syncs consent statuses between the Cookie Information Mobile SDK and the Piwik PRO SDK.
Note: Cookie Information and Piwik PRO use different consent types, so you’ll have to map them yourself.
Before you start
Here are a few things to know before you start:
- You need an account in Cookie Information.
- You need an iOS app with the Piwik PRO SDK installed. See detailed instructions in Piwik PRO documentation.
- You need to have the Cookie Information Mobile SDK installed. See detailed instructions in Piwik PRO documentation.
- You need the user’s Visitor ID or User ID. You can ask the user to send you their visitor ID. In case of a user ID, you can set it up. See detailed instructions in Piwik PRO documentation.
- Cookie Information and Piwik PRO use different consent types, so you’ll have to map them yourself.
Consent categories
Piwik PRO includes the following consent categories:
analyticsab_testing_and_personalizationconversion_trackingmarketing_automationremarketinguser_feedbackcustom_consent
Cookie Information includes the following consent categories:
necessary(no consent required)statisticalfunctionalmarketingcustom
Here’s an example of consent category mapping:
| Cookie Information | Piwik PRO |
|---|---|
| statistical | analytics |
| functional | user feedback |
| marketing | marketing automation |
| custom | custom consent |
Consent values are passed to Piwik PRO using custom variables at predefined indexes:
| Index | Name | Value |
|---|---|---|
| 1 | analytics | A/B testing |
| 2 | conversion tracking | marketing automation |
| 3 | remarketing | user feedback |
| 4 | custom consent | unused |
Note:
Each consent category sent to Piwik PRO should return one of the following values:
"1"– consent granted"0"– consent deniednull– category unused
A custom event is interpreted as a consent event when it includes the following values:
- Category:
"consent_decision" - Action:
"no_consent"– no consents given"full_consent"– all consents given"any_consent"– at least one but not all consents
- Name:
"first_consent"– first decision"changed_consent"– every subsequent decision
Here’s an example of the complete implementation you can copy into your project:
public extension UserConsent {
   var consentStatus: String {
       return isSelected ? "1" : "0"
   }
}

    func resolveConsentDecisionAction(from settings: [UserConsent]) -> String {
        let statuses: [String] = settings.compactMap { consent in
            switch consent.purpose {
            case .necessary:
                return nil
            case .marketing, .functional, .statistical, .custom:
                return consent.consentStatus
            @unknown default:
                return nil
            }
        }
        guard !statuses.isEmpty else { return "no_consent" }
        if statuses.allSatisfy({ $0 == "0" }) { return "no_consent" }
        if statuses.allSatisfy({ $0 == "1" }) { return "full_consent" }
        return "any_consent"
    }

    func resolveConsentDecisionType(from settings: [UserConsent]) -> String {
        let fingerprint = settings
            .compactMap { consent -> String? in
                switch consent.purpose {
                case .necessary: return nil
                case .marketing, .functional, .statistical, .custom:
                    return "\(consent.purposeDescription.lowercased()):\(consent.consentStatus)"
                @unknown default: return nil
                }
            }
            .sorted()
            .joined(separator: "|")
        let key = "pp_consent_fingerprint"
        let previous = UserDefaults.standard.string(forKey: key)
        UserDefaults.standard.set(fingerprint, forKey: key)
        return (previous == nil) ? "first_consent" : "changed_consent"
    }

    func showPrivacyPopUpIfNeeded() {
        // Display the popup and provide a closure for handling the user consent.
        // This completion closure is the place to display consent
        mobileConsentsSDK.showPrivacyPopUpIfNeeded() { [weak self] settings in
            guard let self = self else { return }
            settings.forEach { consent in
                switch consent.purpose {
                case .statistical:
                    PiwikTracker.sharedInstance()?.setCustomVariable(
                        index: 1,
                        name: consent.consentStatus, // analytics
                        value: "null",               // A/B testing
                        scope: .action
                    )
                case .functional:
                    PiwikTracker.sharedInstance()?.setCustomVariable(
                        index: 3,
                        name: "null",                // remarketing
                        value: consent.consentStatus, // user feedback
                        scope: .action
                    )
                case .marketing:
                    PiwikTracker.sharedInstance()?.setCustomVariable(
                        index: 2,
                        name: "null",                // conversion tracking
                        value: consent.consentStatus, // marketing automation
                        scope: .action
                    )
                case .custom:
                    if consent.purposeDescription.lowercased() == "age consent" {
                        PiwikTracker.sharedInstance()?.setCustomVariable(
                            index: 4,
                            name: consent.consentStatus,
                            value: "null",
                            scope: .action
                        )
                    }
                case .necessary:
                    break
                }
            }
            let action = self.resolveConsentDecisionAction(from: settings)
            let name   = self.resolveConsentDecisionType(from: settings)
            PiwikTracker.sharedInstance()?.sendEvent(
                category: "consent_decision",
                action: action,
                name: name,
                value: nil,
                path: nil
            )
        } errorHandler: { err in
            print("Ooops, error: \(err.localizedDescription)")
        }
    }

}
Create an account in Piwik PRO
To create an account in Piwik PRO, follow these steps:
1. Go to the Piwik PRO website at https://piwik.pro/business-plan-setup/.
Note: If you go directly to https://piwik.pro/business-plan-setup/, you’ll create a trial account. Later, you can upgrade to a plan of your choice.
2. Fill out the required fields:
- Email – The email address you used to create your Cookie Information account
- Website – The main website you want to track
- Account name – Your organization or account name you used for your Cookie Information account
Note: Ideally, your Piwik PRO account name should match the one you use for your Cookie Information account. However, please be aware of these rules and limitations:
- Account names must be 2–36 characters long.
- Allowed characters: lowercase letters (a–z), digits (0–9), and hyphens (-).
- Names cannot start or end with a hyphen.
- At least one letter is required.
- Your account name becomes part of your account URL address and is publicly visible – avoid using personal information.
- The name must be available (not already taken). If the account name is already taken, you’ll see a notification and need to choose another one.
If your Cookie Information account name doesn’t meet these requirements, choose a different name that works best for you.
Note: Cookie Information account name
- You can find your account name after you log in to your Cookie Information account. Click the user profile icon in the top right corner to see your account name.

3. Click Complete my Business Plan setup.
4. Go to your inbox.
5. Find the email from Piwik PRO.
Note: If you don’t see the email in a few minutes, check your spam folder.
6. Click Activate your account. You’ll be directed to the Piwik PRO platform, where you can set your password.
Note: If you have questions about your Piwik PRO account or the setup process, contact Piwik PRO Support at support@piwik.pro.
7. All done, once you set your password, your account is ready.
Review consent decisions in Piwik PRO
Review consent decisions in Piwik PRO, follow these steps:
1. Log in to Piwik PRO.
2. Go to Menu > Analytics.
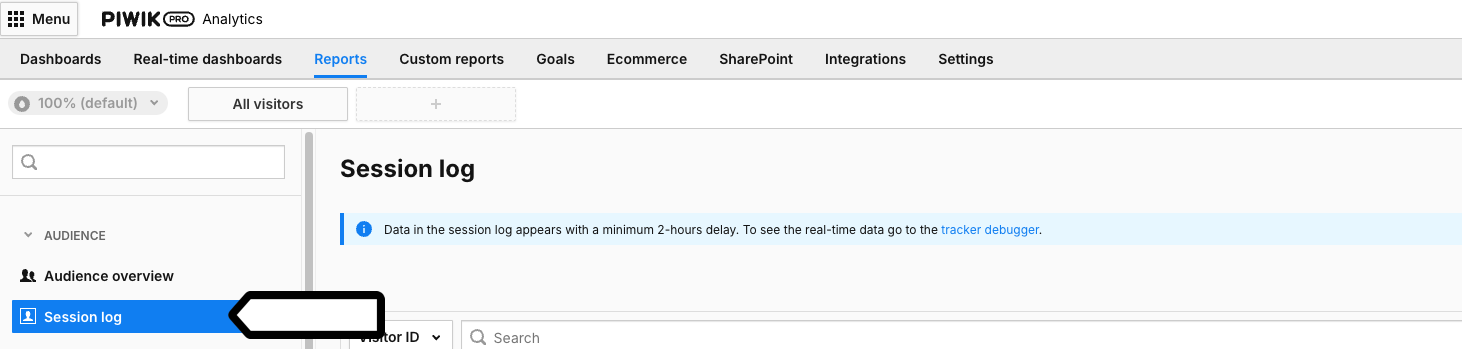
3. Navigate to Reports > Session log.
4. Choose the date range.

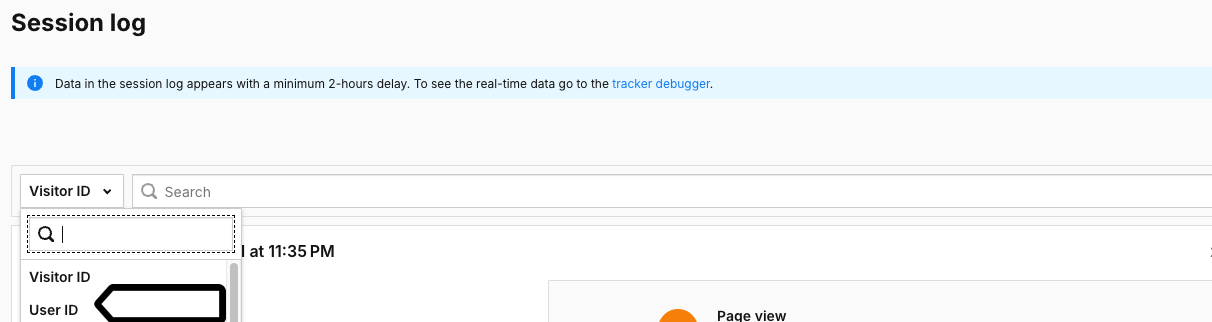
5. Choose the filter type: Visitor ID or User ID, and type the ID from the user. In our example, it is: VisitorID: b52c93c9101f94c5.
Note. If you’re using a User ID, you need to select User ID from the drop-down list and then paste the ID in the search field.
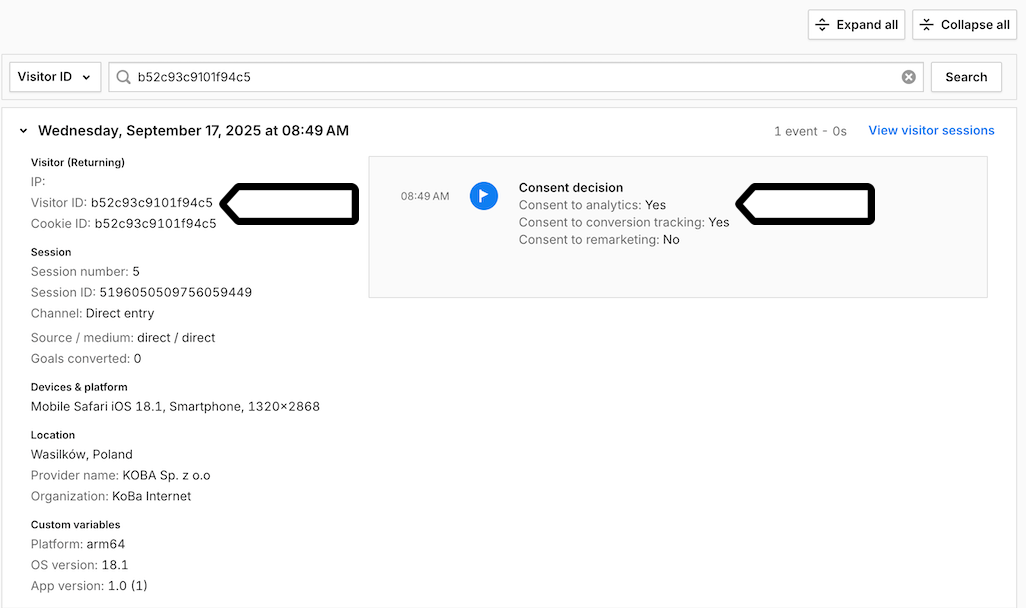
6. Click Search.
7. Now, we can see the log of the consent decision for the selected visitor ID.
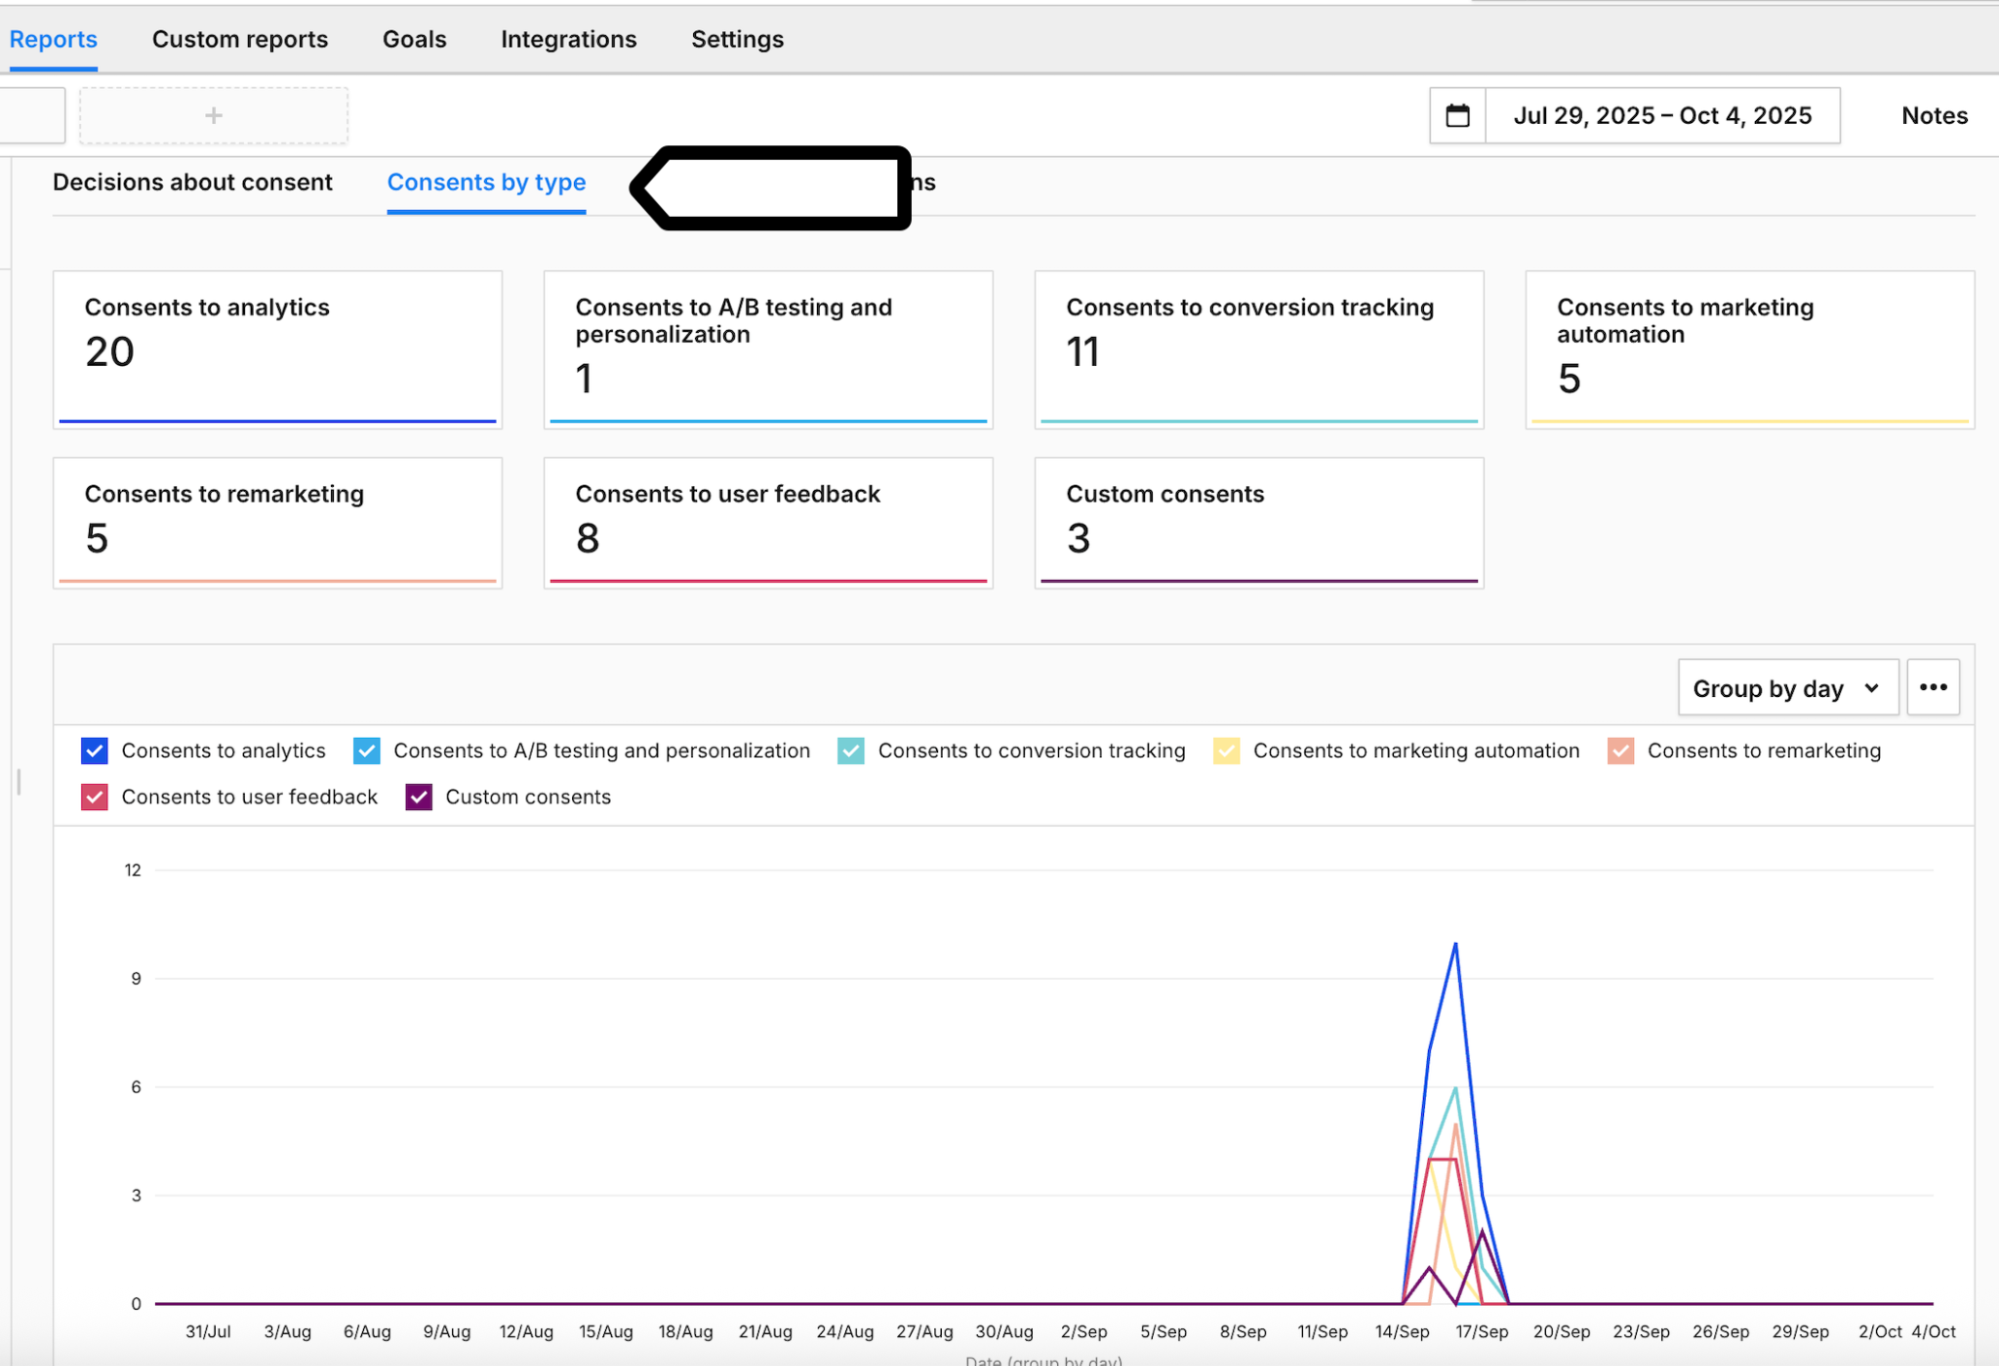
8. (Optional) If you want to check the breakdown of consent statistics by type, go to Reports > Consent.
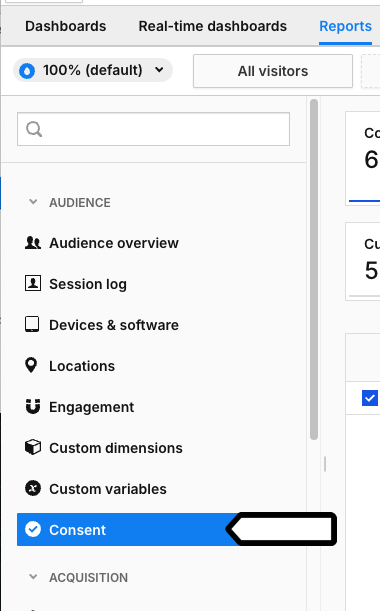
9. In Consent by type, you can see a diagram of all consent decisions within a selected time range.
10. All done.