In this article, we will walk you through setting up Google consent mode v2with Cookie Information by changing the main installation code and consent popup template.
Before you start
Here are a few things to know before you start:
- There are two different Google consent modes: basic and advanced. You can implement both in Cookie Information. The basic consent mode doesn’t allow you to collect any user data, not even consent status, until the user agrees. In the advanced consent mode, Google tags are loaded before the consent popup displays to users. Google collects cookieless data without personal identifiers.
- To use Google advertising products, you need at least the basic mode installed. The advanced mode is optional.
- To use Google consent mode v2, you must add a link to Google’s business data responsibility site in your consent template. The link must be visible on the second layer of the consent popup. This is needed no matter how you implement the consent mode v2. That way, users can easily reach that information.
- To learn how to customize your template, see this style guide.
- Here’s the list of Google consent types and categories:
| Consent type | Description | Consent category |
|---|---|---|
ad_storage | Allows storage (such as cookies) related to advertising | Marketing |
analytics_storage | Allows storage (such as cookies) related to analytics e.g. visit duration | Statistical |
functionality_storage | Allows storage that supports the functionality of the website or app e.g. language settings | Functional |
personalization_storage | Allows storage related to personalization e.g. video recommendations | Functional |
security_storage | Allows storage related to security such as authentication functionality, fraud prevention, and other user protection | Necessary |
ad_user_data | Sets consent for sending user data related to advertising to Google | Marketing |
ad_personalization | Sets consent for personalized advertising | Marketing |
Set up a basic Google consent mode v2
To set up a basic consent mode v2, follow these steps:
- Log in to Cookie Information.
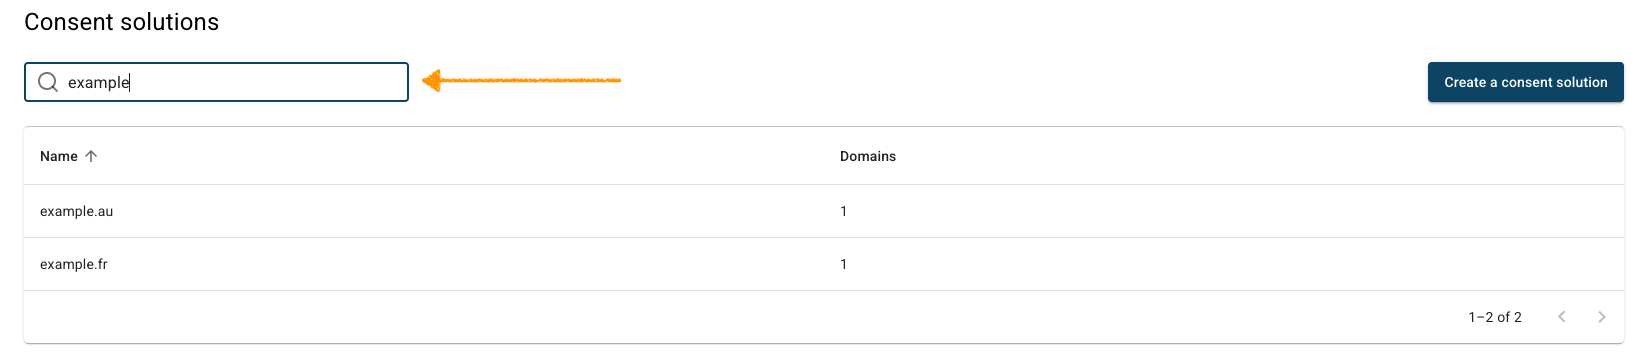
- Go to Consent solutions.
- Find the consent solution for which you want to change the consent popup template.
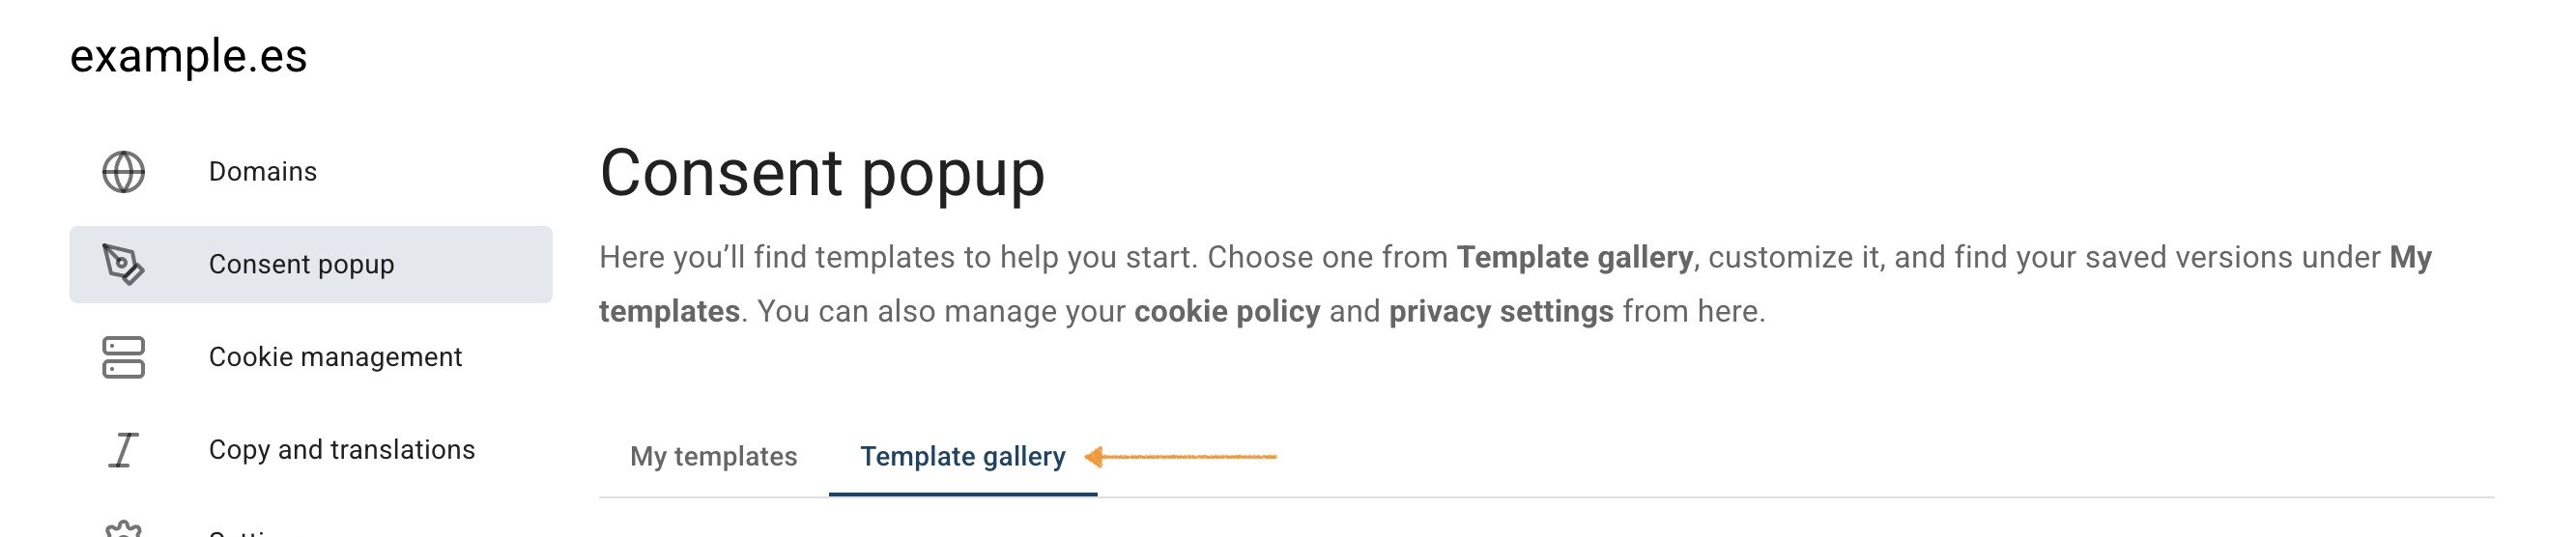
- Go to Consent popup and click Template gallery.
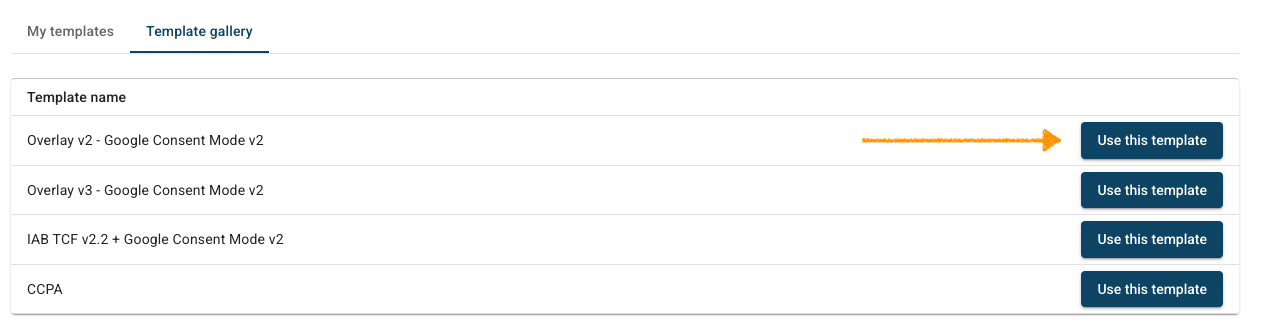
- Click Use this template next to Overlay v2 – Google Consent Mode v2 or Overlay v3 – Google Consent Mode v2.
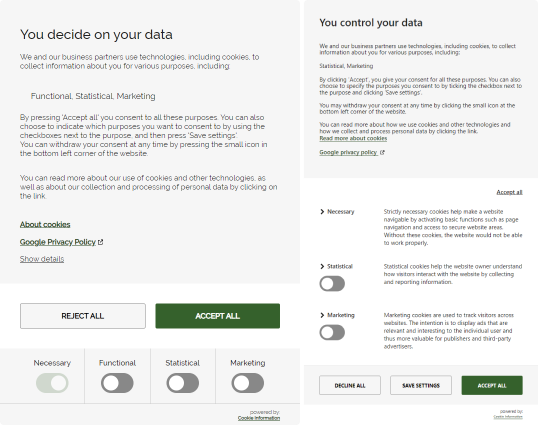
The default versions of overlay v2 and v3 without any customization, look like this:
Note:
- Changing your template will reset any customizations including text or styling, you have made earlier.
- View our template showcase to see all template designs. To learn how to customize your template, see this style guide.
- (Optionally) If you use a different consent template or create a custom one, you need to add a link to Google’s business data responsibility site to meet Google’s requirements.
- In Consent popup, go to My templates.
- Click the ⋯ three-dot icon next to Overlay v2 – Google Consent Mode v2, and click Edit.

- Go to Template code.
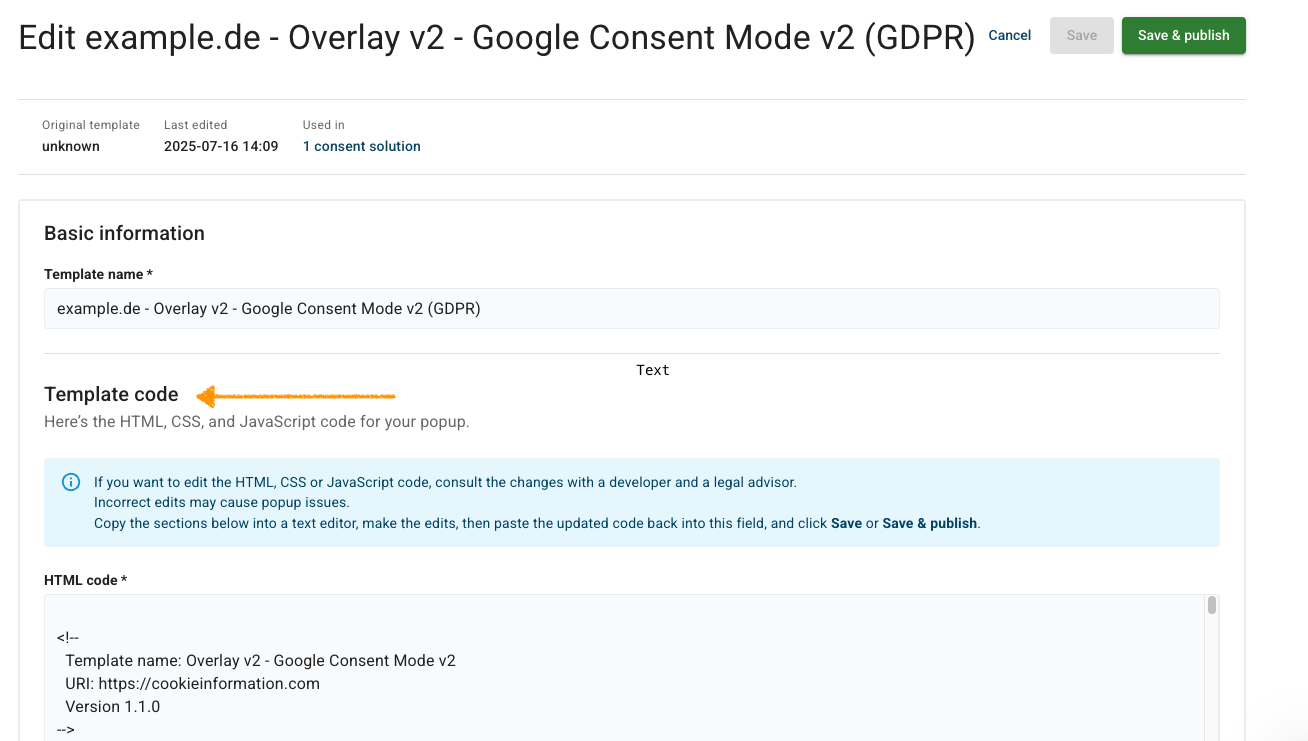
- Add the following code to your template’s HTML code:
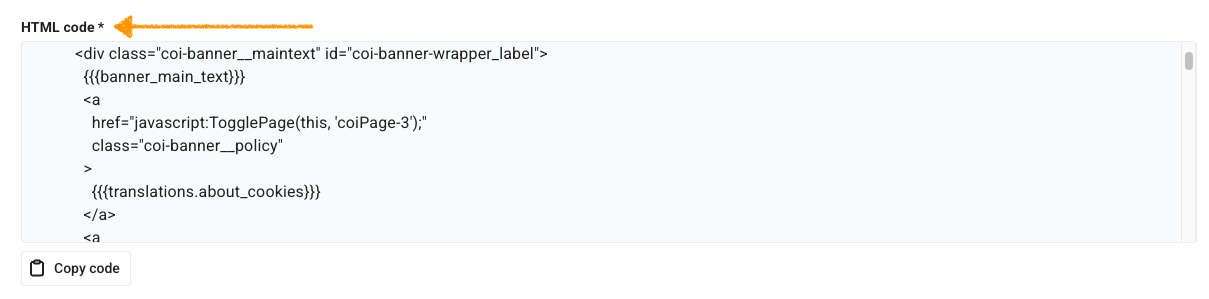
<a class="coi-banner__google-privacy-policy" aria-label="{{{translations.google_privacy_policy_link}}}" href="https://business.safety.google/privacy/" target="_blank">{{{translations.google_privacy_policy_link}}}</a>- Add the following code snippet to your website source code before the main installation code.
 <script>
  window.dataLayer = window.dataLayer || [];
  function gtag() { dataLayer.push(arguments); }

  gtag('consent', 'default', {
    'ad_user_data': 'denied',
    'ad_personalization': 'denied',
    'ad_storage': 'denied',
    'analytics_storage': 'denied',
    'wait_for_update': 500,
  });
</script>- Check that your main installation code includes the
data-gcm-versionattribute set to “2.0”. We recommend placing the code as high as possible within the<head>tag. This ensures the script is loaded first and the cookies can be blocked before consent has been given.
The main installation code will look like this:
<script id="CookieConsent" type="text/javascript" data-culture="EN" src="https://policy.app.cookieinformation.com/uc.js" data-gcm-version="2.0"></script>Note: The attribute data-culture = "EN" controls the language in which the popup will appear on the page – in this example, it will be displayed in English. To change the language, set the data-culture attribute to a different language code. For more details, see this article.
- All done.
Set up an advanced Google consent mode v2 (optional)
- Instead of the basic mode snippet (see step 11. above), add the following snippet to your website source code before the main installation code.
<script>
window.dataLayer = window.dataLayer || [];
function gtag() { dataLayer.push(arguments); }
// Set default consent to 'denied' as a placeholder
// Determine actual values based on customer's own requirements
gtag('consent', 'default', {
'ad_storage': 'denied',
'ad_user_data': 'denied',
'ad_personalization': 'denied',
'analytics_storage': 'denied',
'wait_for_update': 500
});
gtag('set', 'ads_data_redaction', true);
gtag('set', 'url_passthrough', true);
</script>The final advanced mode setup should look like this:
<script>
window.dataLayer = window.dataLayer || [];
function gtag() { dataLayer.push(arguments); }
// Set default consent to 'denied' as a placeholder
// Determine actual values based on customer's own requirements
gtag('consent', 'default', {
'ad_storage': 'denied',
'ad_user_data': 'denied',
'ad_personalization': 'denied',
'analytics_storage': 'denied',
'wait_for_update': 500
});
gtag('set', 'ads_data_redaction', true);
gtag('set', 'url_passthrough', true);
</script>
<script id="CookieConsent" type="text/javascript" data-culture="EN" src="https://policy.app.cookieinformation.com/uc.js" data-gcm-version="2.0">
</script>Note: The code includes an enabled URL passthrough feature: gtag('set', 'url_passthrough', true). It’s optional. If you don’t want to use it, remove this line of code. For more details, see Google’s documentation.