In this article, we’ll walk you through setting up the Cookie Information WordPress plugin for Google consent mode v2.
Before you start
Here are a few things to know before you start:
- This guide shows you how to install the Cookie Information WordPress plugin and use it for setting up Google consent mode v2. This instruction applies to setting up the WordPress plugin with the advanced Google consent mode v2. To implement the basic mode, see our Google consent mode v2 guide.
- This guide also covers instructions on how to set up and update the Cookie Information WordPress plugin. Regular updates are crucial for maintaining the security and functionality of your WordPress plugins.
- Google consent mode v2 processes the consent preferences of your users obtained through your consent popup. It adjusts the functioning of analytics, ads, and third-party tags responsible for creating or accessing cookies based on these preferences.
This version offers two modes: basic and advanced. You can implement both in Cookie Information. The basic consent mode doesn’t allow you to collect any user data, not even consent status, until the user agrees. In the advanced consent mode, Google tags are loaded before the consent popup displays to users. Google collects cookieless data without personal identifiers. - If your site is set up with a single default language, our plugin will automatically detect it. If you need more than one language, apart from setting it up in Cookie Information, you’ll need to set up an additional plugin, for example, the WPML plugin. You can find instructions on the plugin’s official page.
- To learn how to customize your cookie consent template, see this style guide.
Set up the WordPress plugin
To set up the Cookie Information WordPress plugin, follow these steps:
- Log in to your WordPress account.
- In your Dashboard, navigate to Plugins.
- Click Add New Plugin.
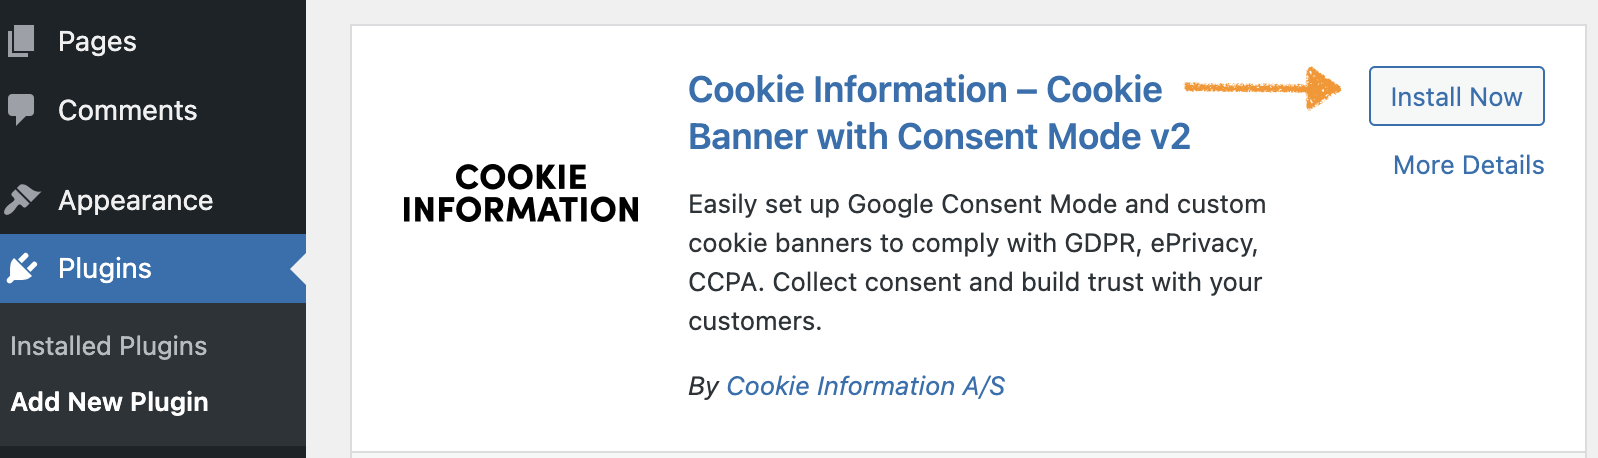
- Type ‘Cookie Information’ in the search bar.

- Click Install Now.
Note: You can also find the Cookie Information plugin for WordPress here.
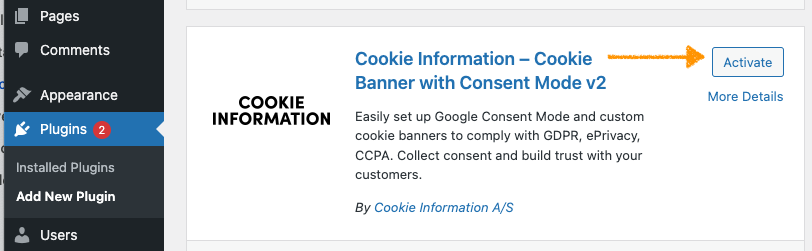
- Click Activate.
Note: There’s another way to activate the plugin.
Go to Installed Plugins, find Cookie Information in the list, and click Activate.

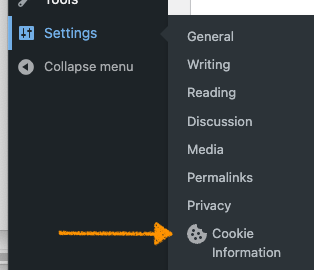
- In Dashboard Settings, go to Cookie Information.
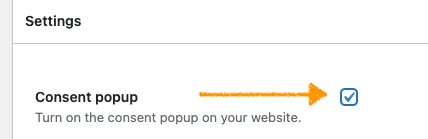
- Turn on the consent popup.
- Turn on Google Consent Mode v2.
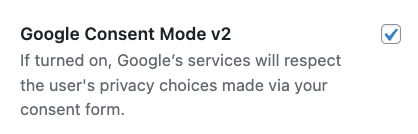
Note: If turned on, Google’s services will respect the user’s privacy choices made via your consent form. For more information, see our support materials here.
- (Optional) Turn on IAB TCF v2.
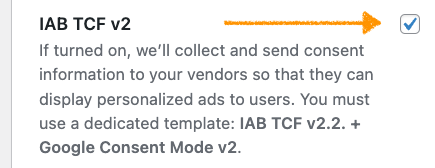
Note: If turned on, we’ll collect and send consent information to your vendors so that they can display personalized ads to users. You must use a dedicated template: IAB TCF v2.2. + Google Consent Mode v2. For more information, see this article.
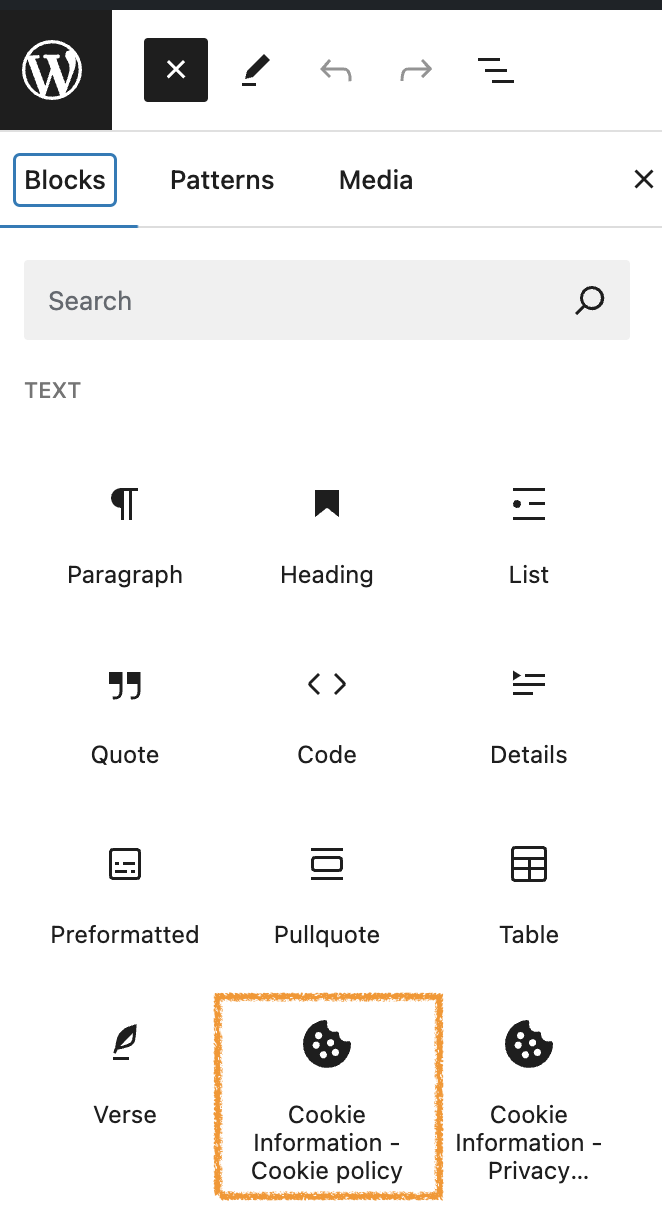
- (Optionally) Add cookie policy by adding a dedicated Gutenberg block when building your page. Click Toggle block inserter.
- (Optionally) InBlocks, selectCookie Information – Cookie policy block.
Note:
- You can add the Cookie Information policy using the shortcode if you use an older WordPress version that doesn’t support Gutenberg blocks. Copy and paste the shortcode to your privacy page:

- To learn more about adding the cookie policy and privacy controls to your website, see this article.
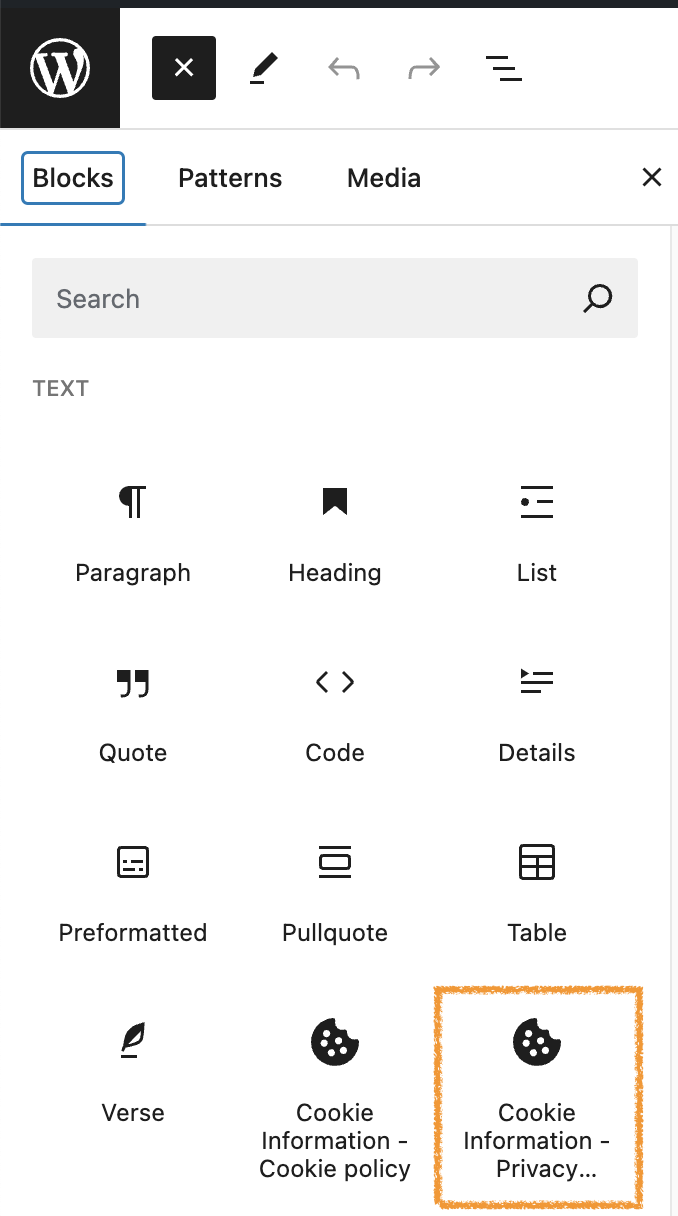
- (Optionally) Add privacy controls by adding a dedicated Gutenberg block when building your page. Click Toggle block inserter.
- (Optionally) In Blocks, select Cookie Information – Privacy controls block.
Note: You can add the Cookie Information privacy controls using the shortcode if you’re using an older WordPress version that doesn’t support Gutenberg blocks. Copy and paste the shortcode to your privacy page:

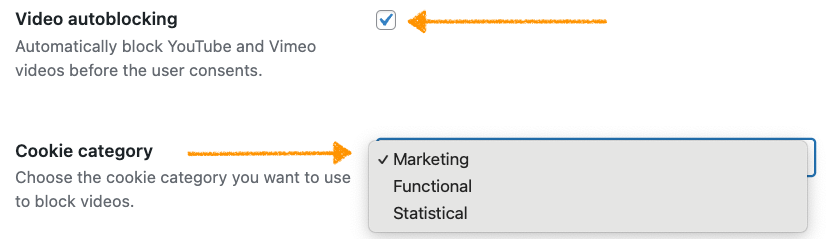
- (Optionally) Turn on video auto-blocking and choose the cookie category you want to use to block videos.
- Click Save changes.
- Log in to Cookie Information.
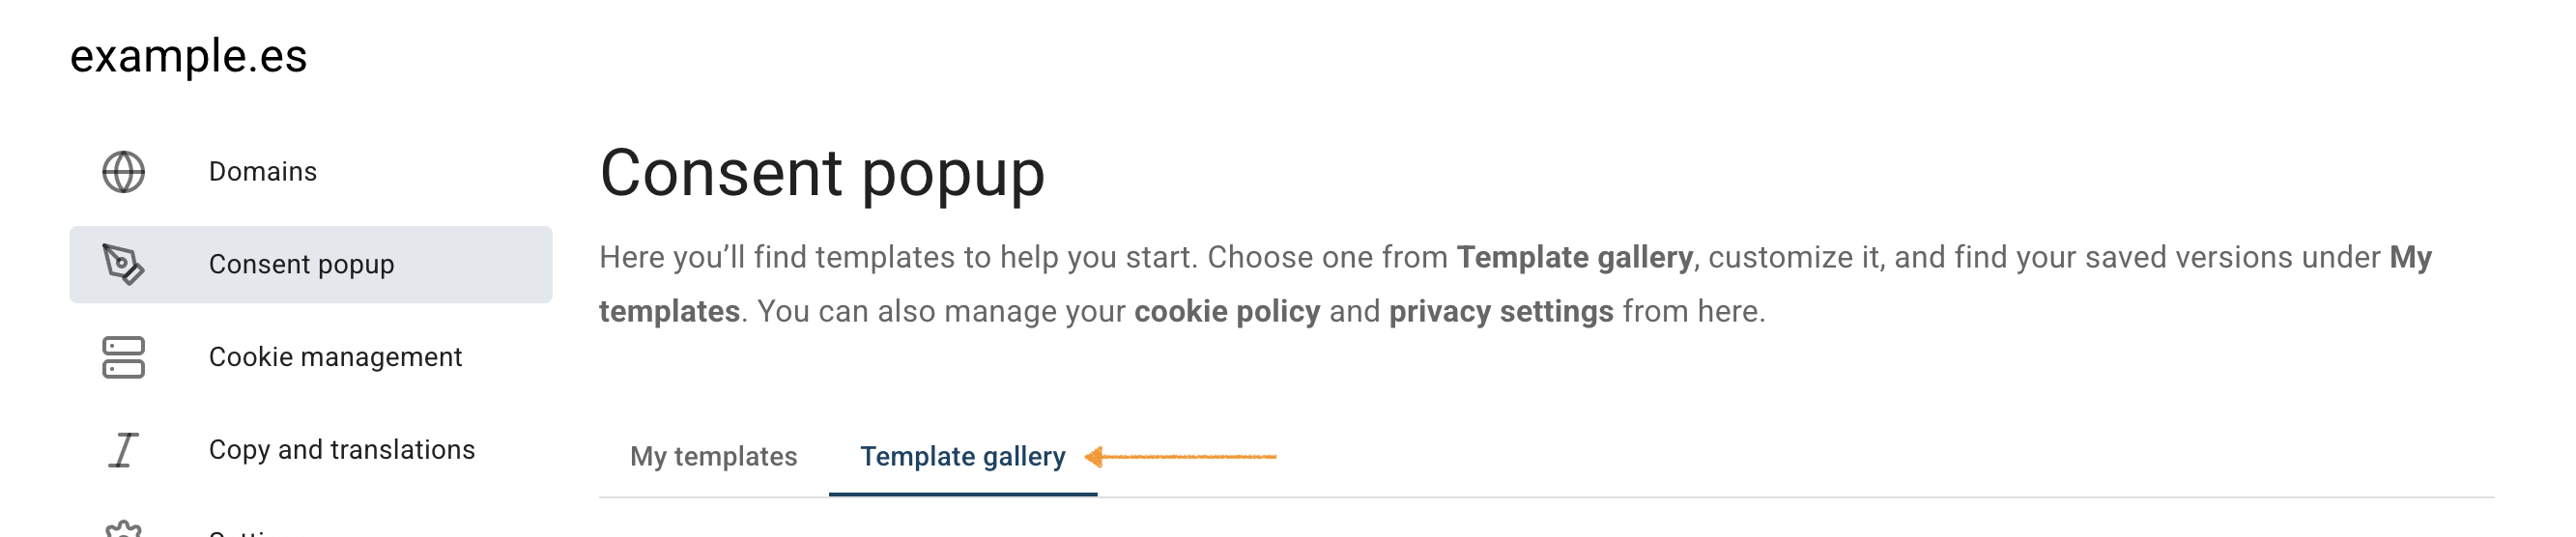
- Go to Consent solutions.
- Find the consent solution where you want to change the consent popup template.

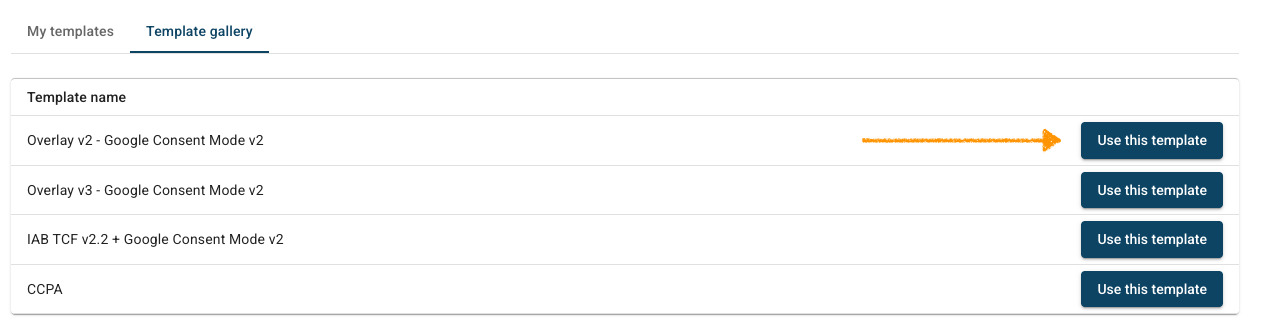
- Go to Consent popup >Template gallery.
- Click Use this template next to Overlay v2 – Google Consent Mode v2 or Overlay v3 – Google Consent Mode v2.
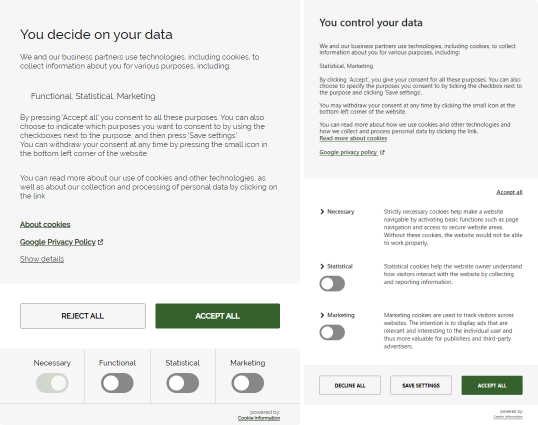
The default versions of Overlay v2 and v3, without any customization, look like this:
Note:
- Changing your template will reset any customizations, including text or styling, you have made earlier.
- View our template showcase to see all template designs. To learn how to customize your template, see this style guide.
- If you use a different cookie consent template or create a custom one, you can choose to add a link to Google’s business data responsibility page (optional). This helps meet Google’s requirements.
In Customize your template, go to Template code.
- In HTML code, add the following code:
<a class="coi-banner__google-privacy-policy" aria-label="{{{translations.google_privacy_policy_link}}}" href="https://business.safety.google/privacy/" target="_blank">{{{translations.google_privacy_policy_link}}}</a>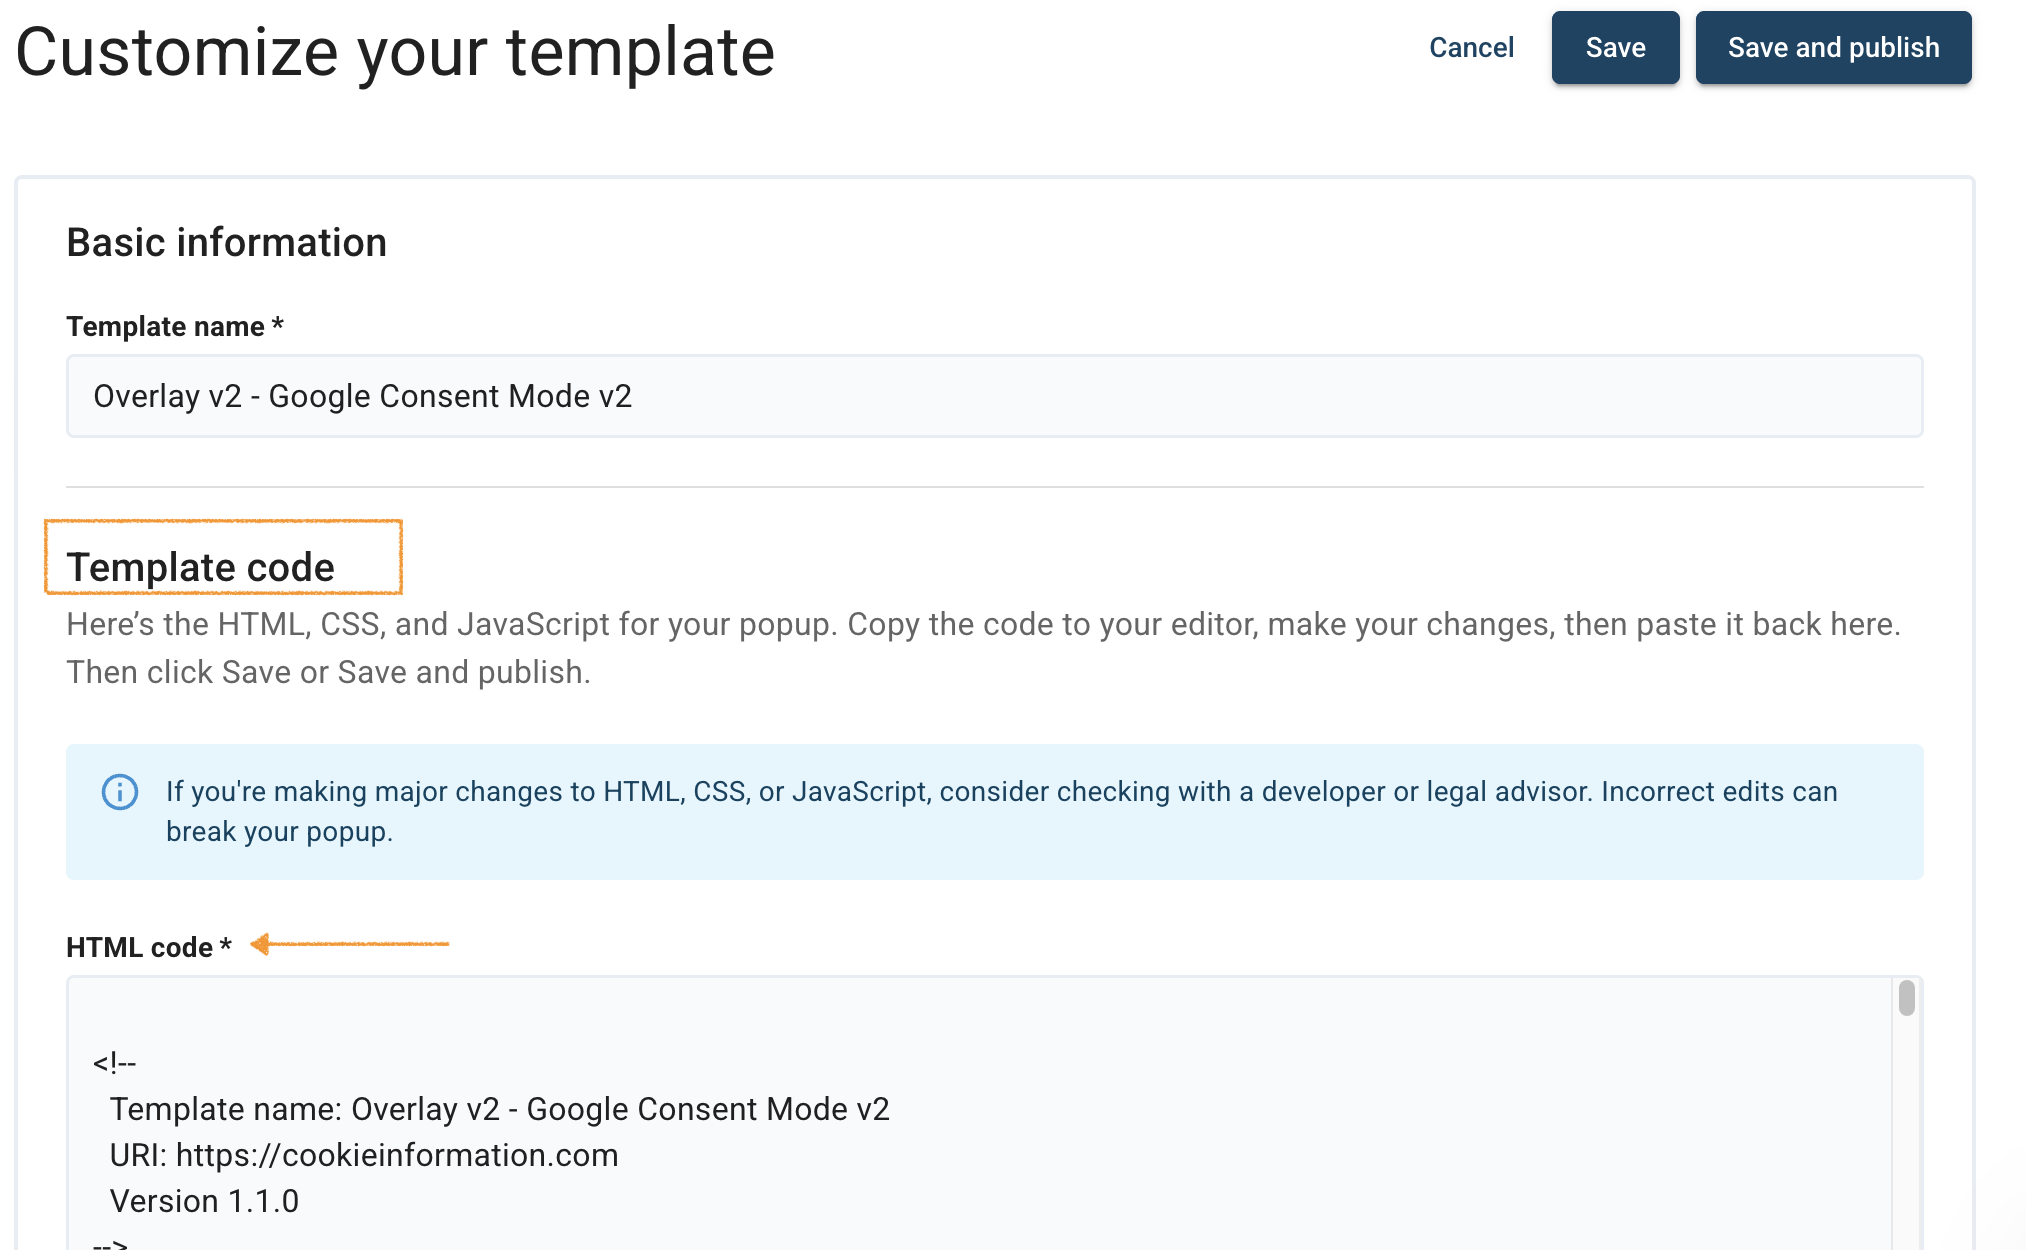
- Click Save and publish.
Note:
- Clicking Save only saves changes to your template. To publish the updated template, click Save and publish.
- Changes to your consent template may take up to 10 minutes to appear on your domain.
- The plugin automatically sets the main installation code in the source code of your website. The main installation code will look like this:
<script id="CookieConsent" type="text/javascript" data-culture="EN" src="https://policy.app.cookieinformation.com/uc.js" data-gcm-version="2.0"></script>Note:
- The attribute
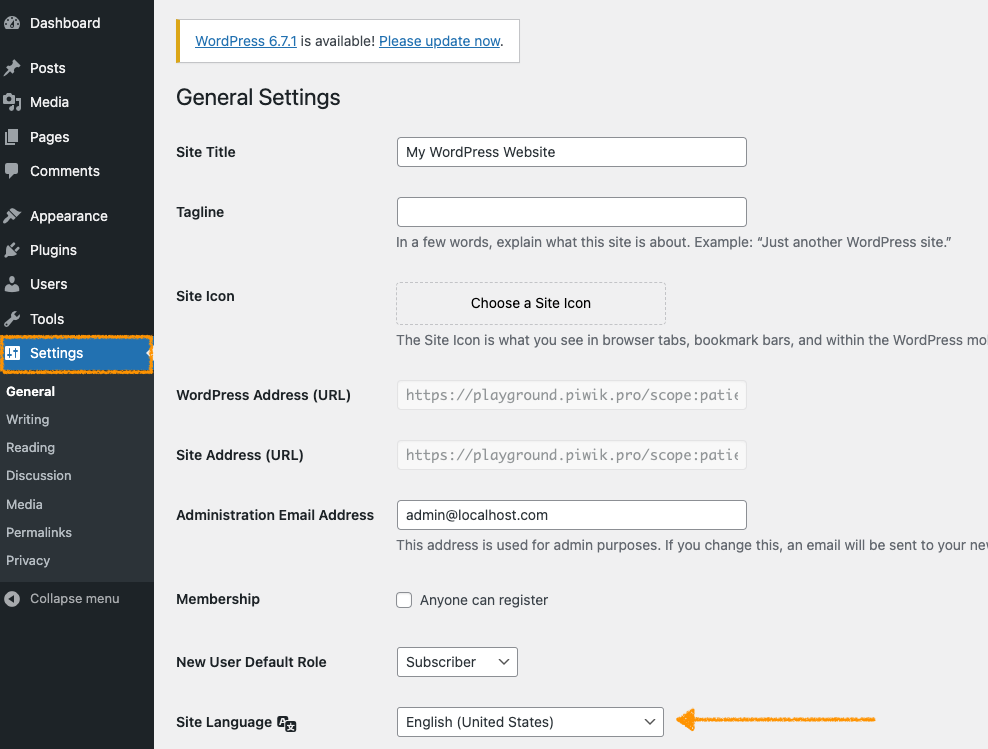
data-culture = "EN"controls the language in which the popup will appear on the page – in this example, it will be displayed in English. To change the language, set thedata-cultureattribute to a different language code. For more details, see this article. - Cookie Information plugin for WordPress will use the language set in Dashboard > Settings > General > General Settings > Site Language for the
data-cultureattribute in the code.
- In WordPress, go to Dashboard >Settings > General > General Settings.
- InSite Language, ensure you set up the same language as in the
data-cultureattribute.
- Done.
Set up multiple languages for your site with the WordPress plugin
If your site requires more than one language, follow these steps:
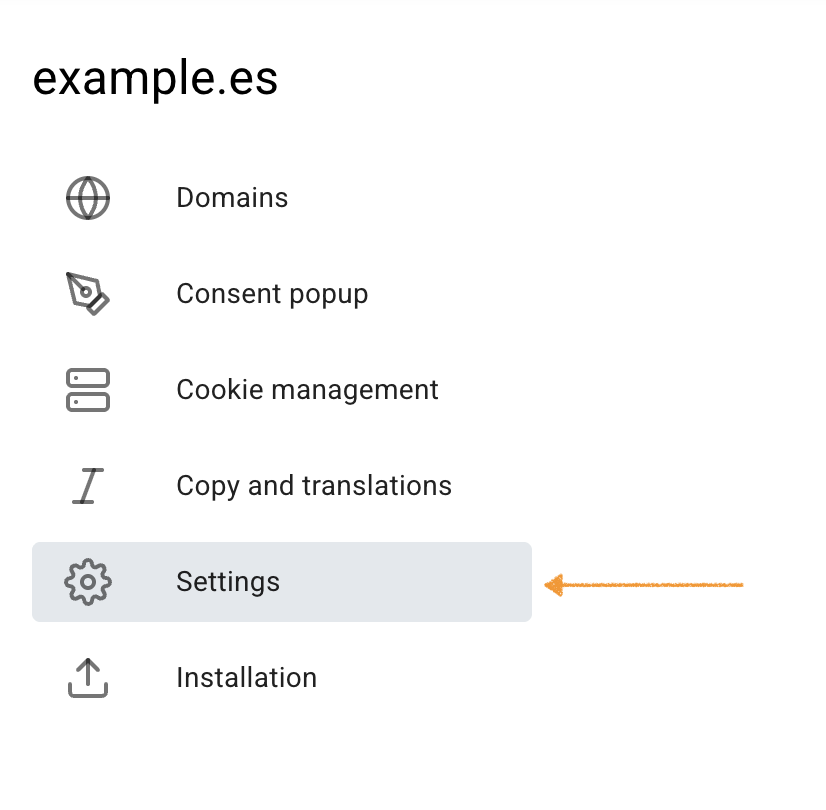
- Go to Cookie Information.
- Find the consent solution where you want to change the consent popup template.

- Go to Settings.
- Go to Consent solution name and languages.
- In Languages, select from the drop-down list all necessary languages for your consent solution.
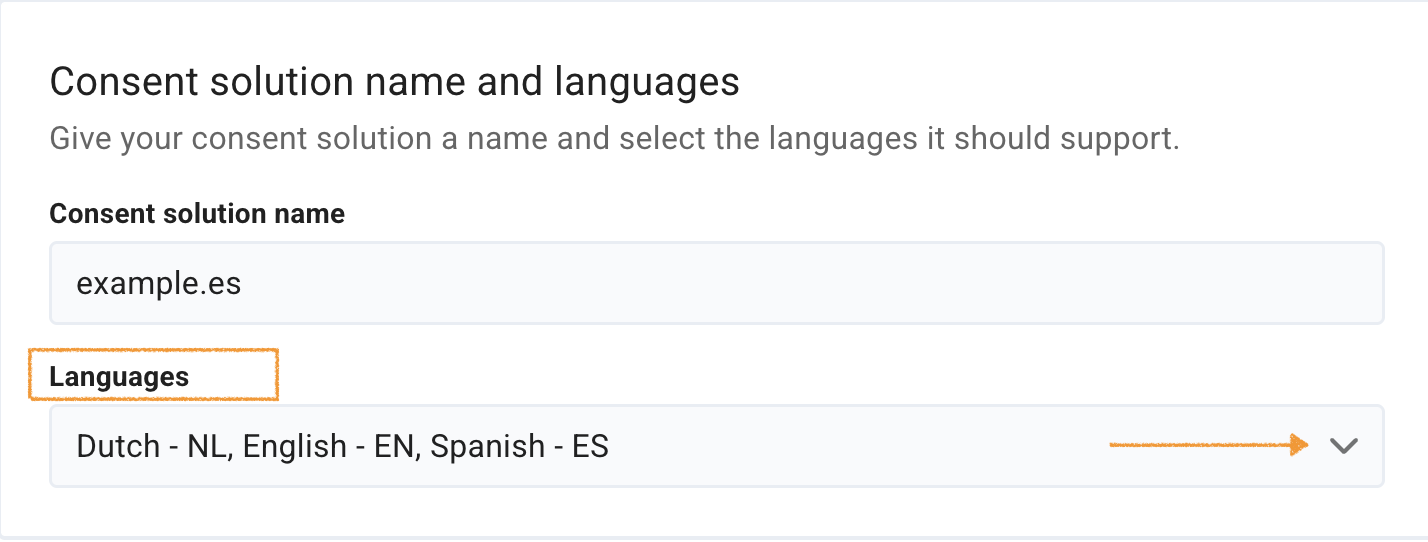
- Click Save.
- Install an additional language plugin.
Note: If your website uses the WPML language plugin, the Cookie Information plugin will automatically detect the current language from WPML.
- Done.
Update the Cookie Information WordPress plugin
To update the Cookie Information WordPress plugin, follow these steps:
- Go to your WordPress Dashboard.
- Navigate toInstalled Plugins.
- Go to Cookie Information plugin, where you will see a notification about the latest update available.
- Click View version details to see the plugin’s changelog with the changes this release will bring.

- Click Update Now.
Note: WordPress will automatically download and install the update. During this process, the plugin might be temporarily deactivated and then reactivated.
- All done! Your plugin is now updated.