
Connect Cookie Information with Piwik PRO to use visitors’ consent choices when collecting and analyzing data. Piwik PRO automatically manages the integration, so you don’t need to set up the Cookie Information tag yourself.
In this article, we’ll show you how to integrate Cookie Information with Piwik PRO.
Before you start
Here are a few things to know before you start
- Make sure Cookie Information and Piwik PRO are already installed on your website.
- You need access to both accounts.
- Turn off Shared consent in Cookie Information.
- If you haven’t set up Cookie Information or Piwik PRO yet, see Set up Cookie Information and Piwik PRO for the first time.
Turn off shared consent in Cookie Information
Note: When shared consent is enabled, it creates a third-party cookie. Piwik PRO doesn’t use third-party cookies due to privacy and support concerns, so it can’t sync consents if shared consent is enabled.
To turn of shared consent in Cookie Information, follow these steps:
1. In Consent solutions, find the consent solution you want to turn off shared consent for.
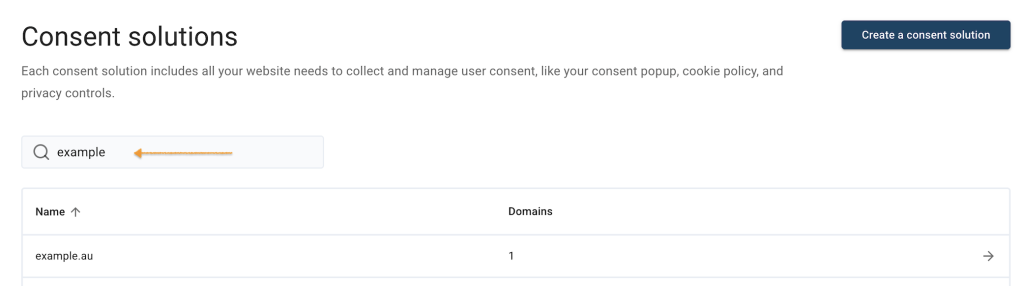
2. Go to Cookie management.
3. In Consent sharing and cookie control, toggle Shared consent.
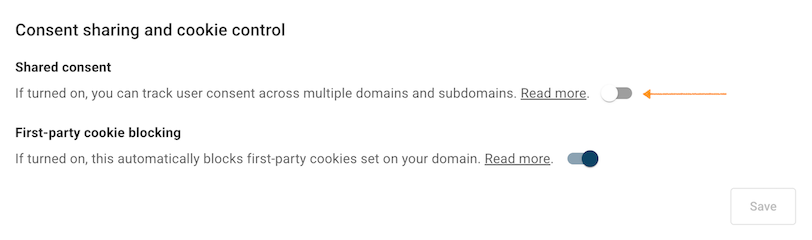
Note: Changes may take a few minutes to appear live on your website.
4. Click Save.
5. Done.
Connect Cookie Information with Piwik PRO
To connect your Cookie Information account with your Piwik PRO account, follow these steps:
1. Go to Piwik PRO.
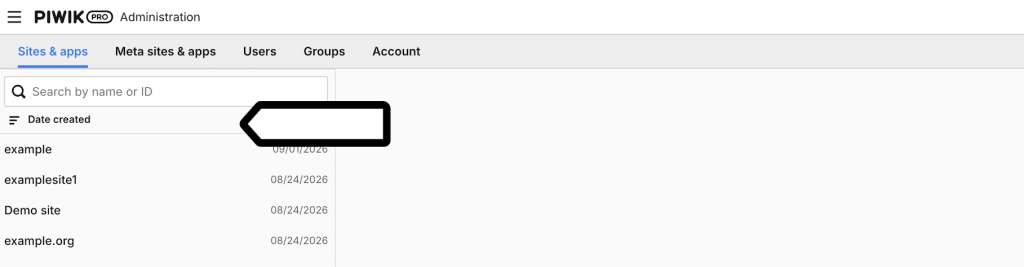
2. Go to Menu > Administration > Sites & apps.
3. On the left, pick the site or app you want to set up.
4. Go to Privacy.
5. Turn on Consent management tool.
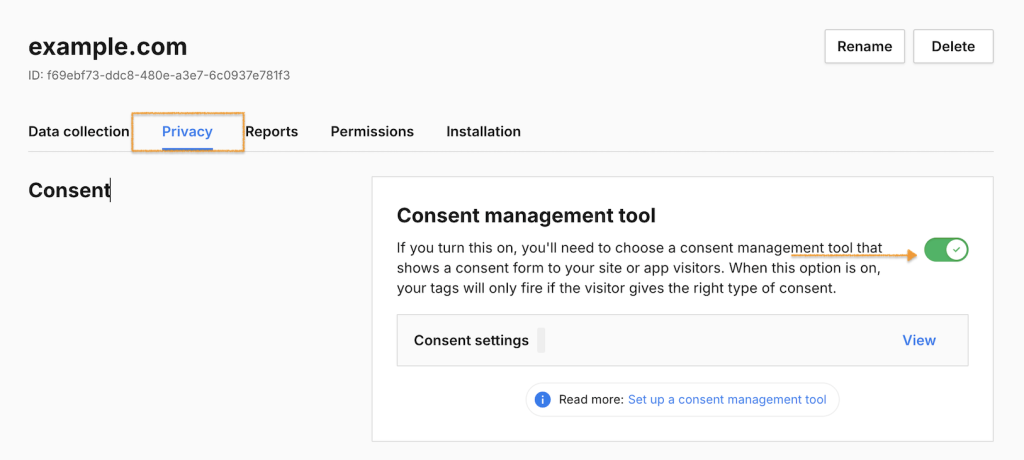
6. Click View to customize the consent settings.
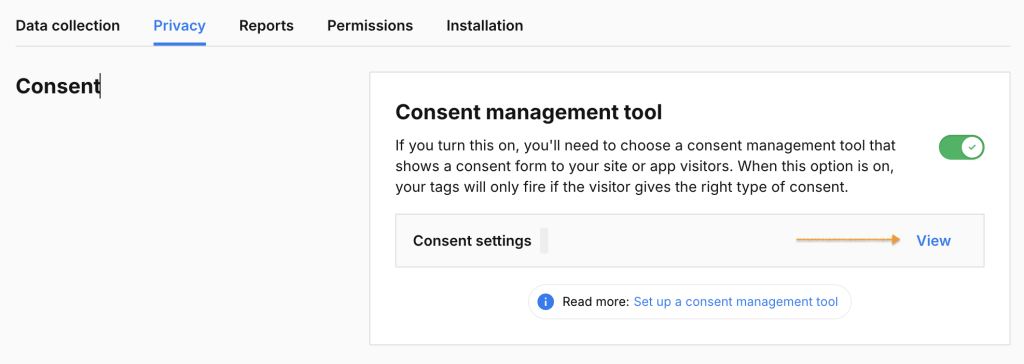
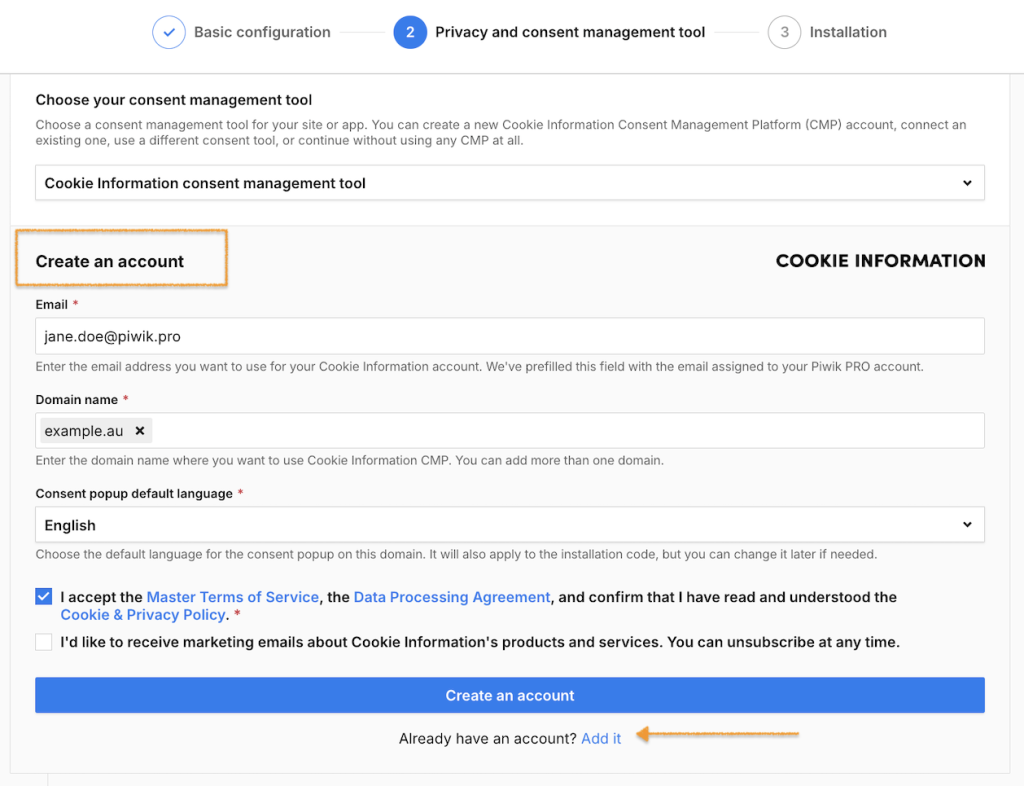
7. Select Cookie Information CMP.

8. In Create an account, click Add it to connect your Cookie Information account.
9. In Add your account, enter your Cookie Information account name.
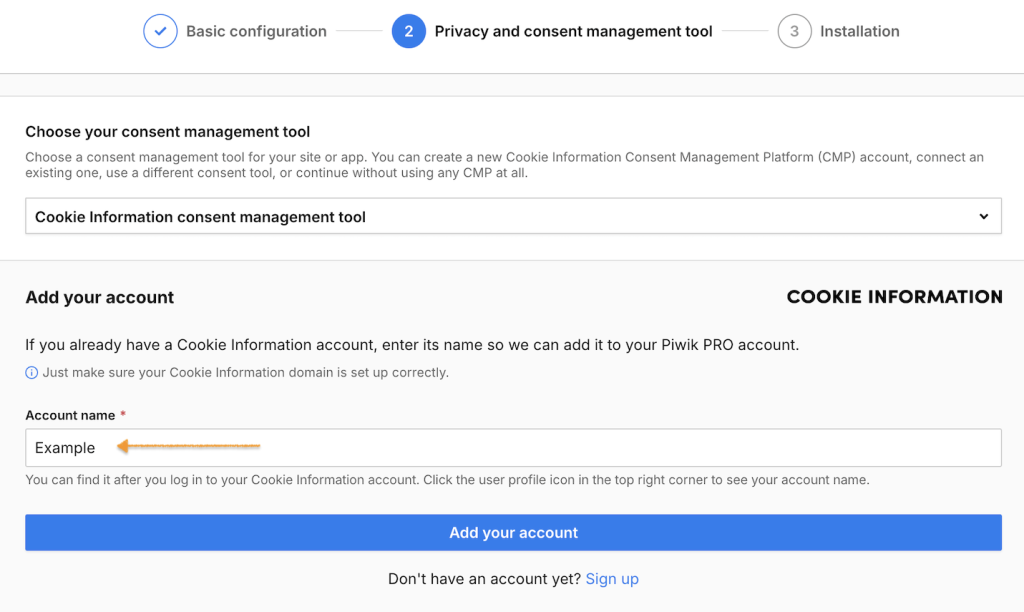
10. Click Add your account.
11. Review anonymous data settings.
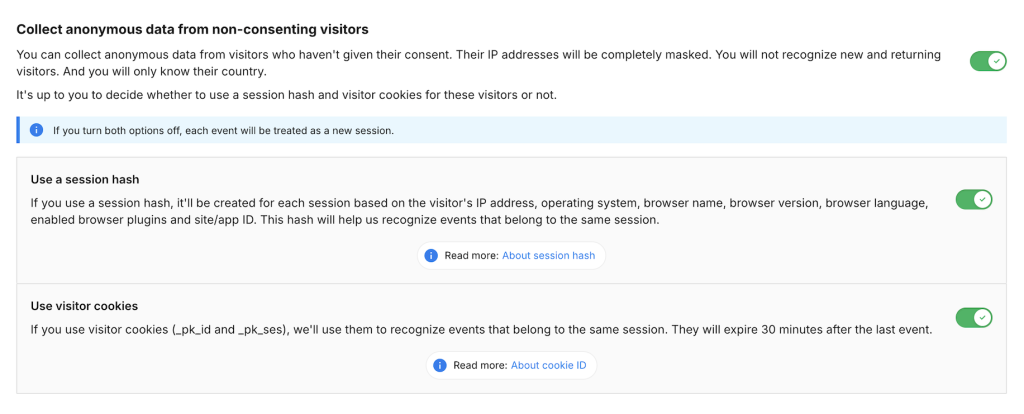
Note: Anonymous data collection is turned on by default. Use a session hash and Use visitor cookies are also turned on. Change these settings if you want to identify sessions differently for visitors who don’t consent. Read more in the Piwik PRO help center.
12. Click Save if you made any changes.
13. Go to Installation.
14. Select Sites.
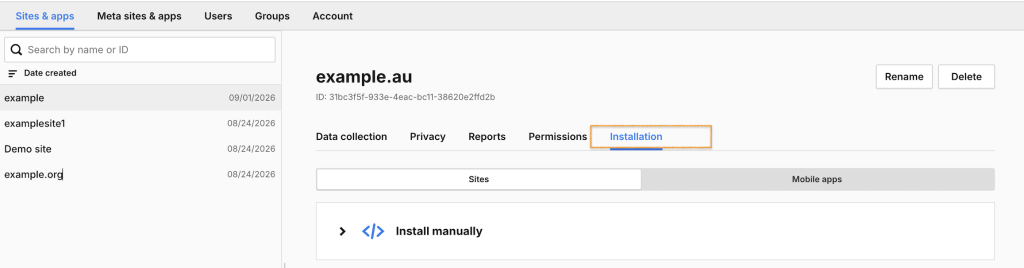
15. Select Install manually.
16. Click Copy to clipboard.
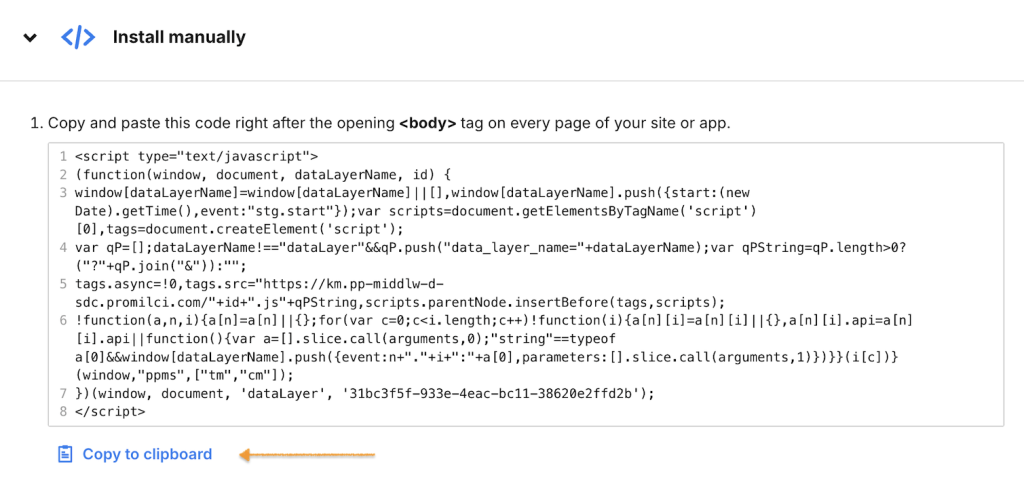
17. Add the Piwik PRO script to your website’s <body> tag.
Note: See the Piwik PRO help center for guides on customizing your setup and setting up tags and reports.
18. Go back to Piwik PRO.
Tip: You can also check manually to see if your tracking works. Read more
19. Data will appear in reports in about an hour. Data in the tracker debugger will appear instantly.
20. Your integration with Piwik PRO is ready.
Note: A Cookie Information banner automatically includes details about cookies used by Piwik PRO. No manual addition is necessary. Keep in mind that the cookie details will appear once the cookie scanner completes its task. If you don’t see them immediately, it means the scanner is still at work.
Check consent data in Piwik PRO
After you connect Cookie Information with Piwik PRO, you can check the consent choices collected from your visitors.
To check consent data, follow these steps:
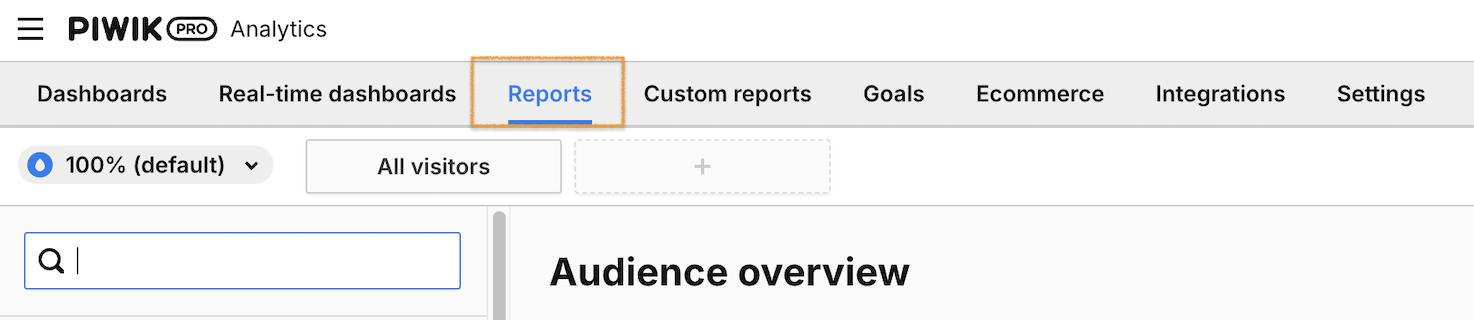
1. In Piwik PRO, go to Analytics > Reports.
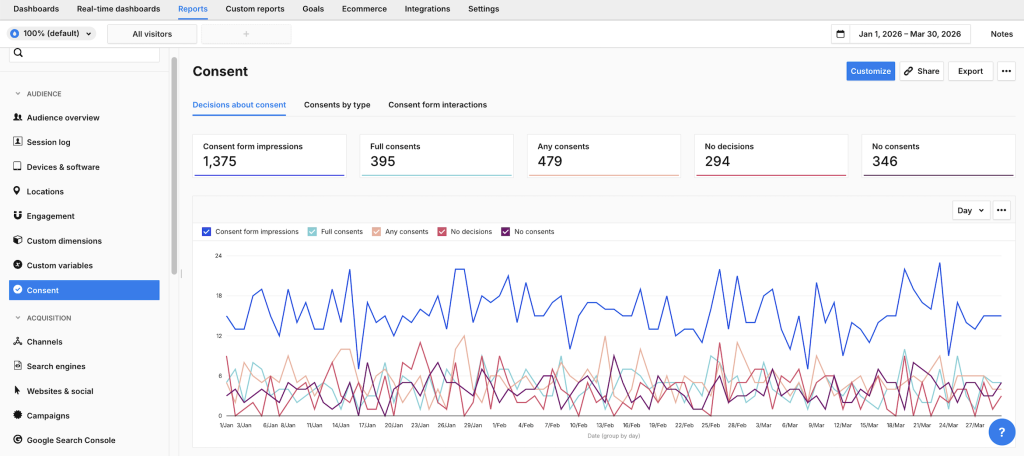
2. Go to Consent.
Note: Data can take about an hour to appear in reports. To check the data right away, use the tracker debugger.
3. Done.


