You can add, edit, reposition, or remove a logo in the consent popup to match your branding. In this article, we’ll show you how to do it.
Before you start
Here are a few things to know before you start:
- The following guide is for Overlay v2 and Overlay v3 templates, version 1.1.0 or higher.
- To add your logo to Overlay v2 and Overlay v3 templates, you need to have a URL where your logo is hosted, such as: https://yourwebsite.com/images/mylogo.png
- The logo has to be a URL to a .png or .svg file, it shouldn’t be a .jpeg file.
- The default placement of a logo is in the bottom left-hand corner of the popup.
Add a logo
To add a logo to Overlay v2 and Overlay v3 templates, follow these steps:
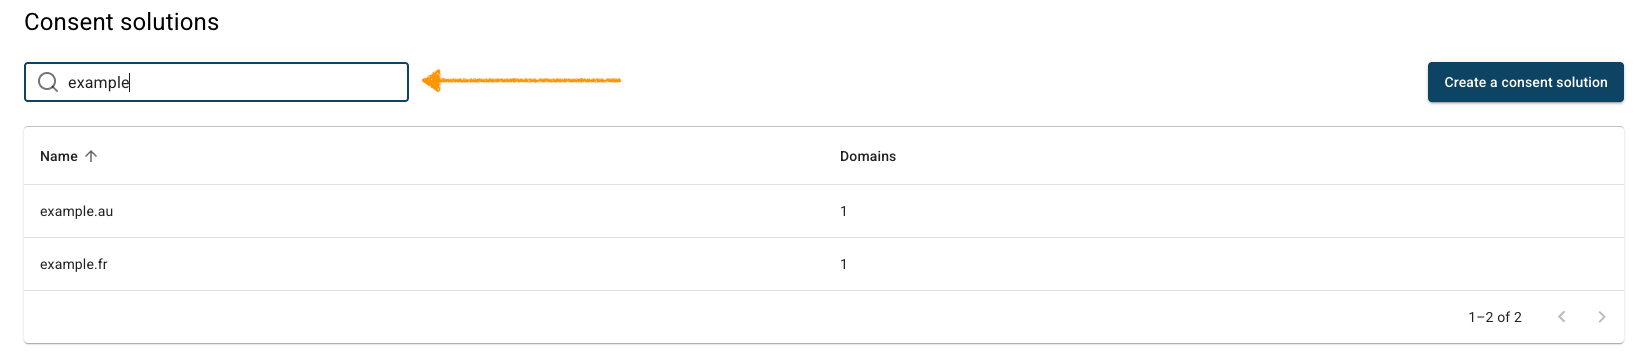
1. In Consent solutions, findthe consent solution where you want to edit the logo.
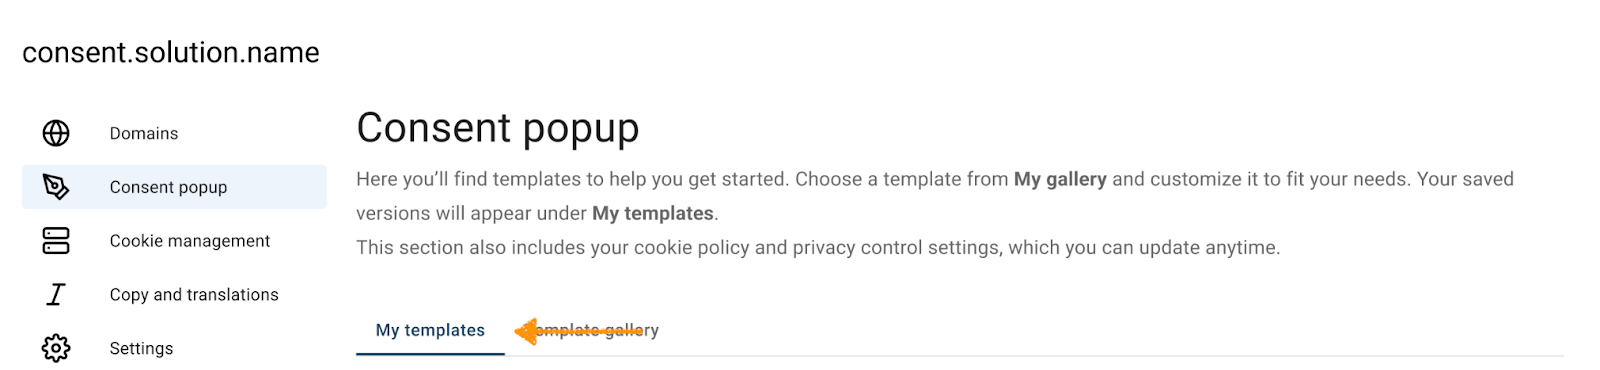
3. Go to Consent popup > My templates.

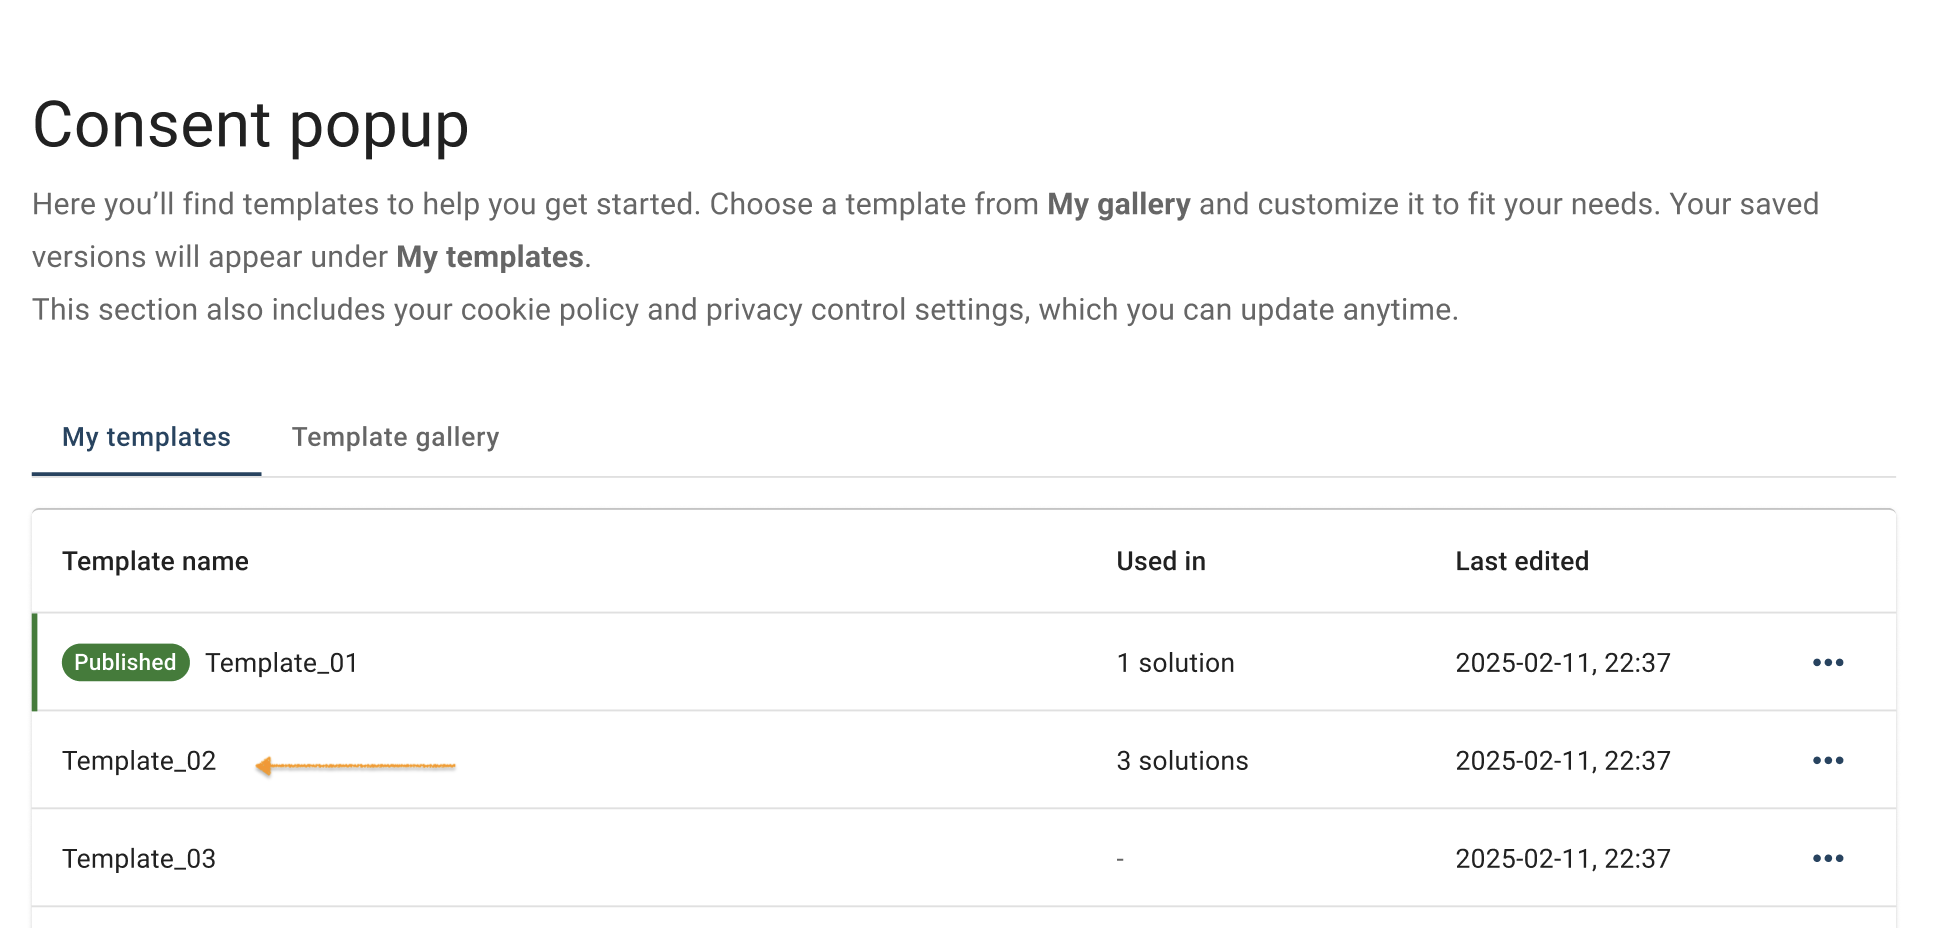
4. Find the consent template where you want to edit the logo.

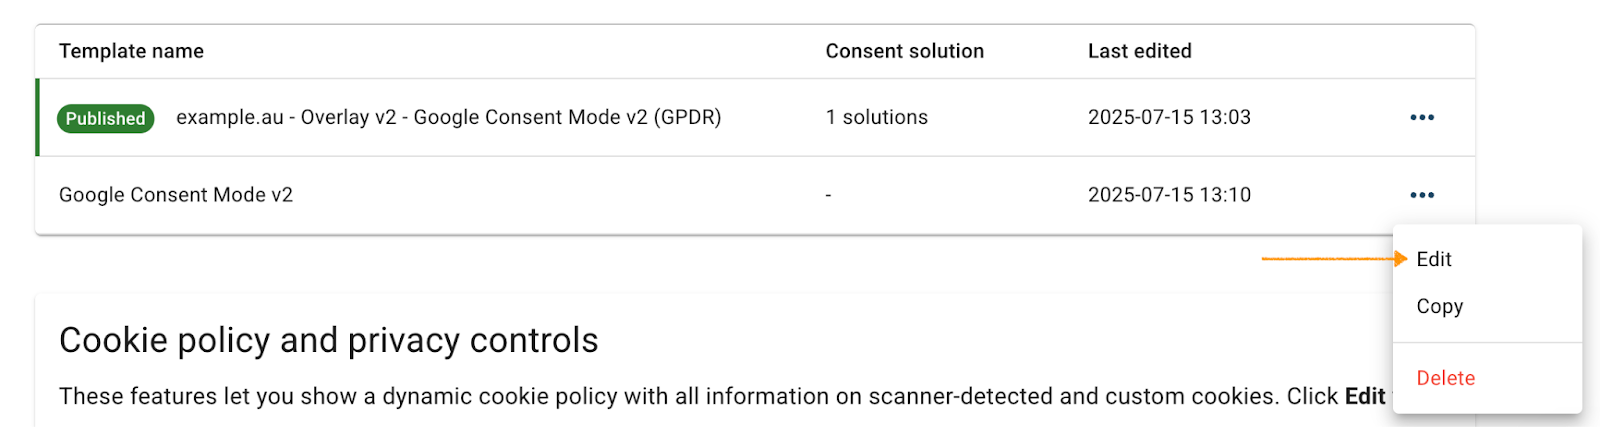
5. Click the ⋯ three-doticon next to the template name you want to change, then click Edit.

Note: The Published label shows which template is currently active for your consent popup:

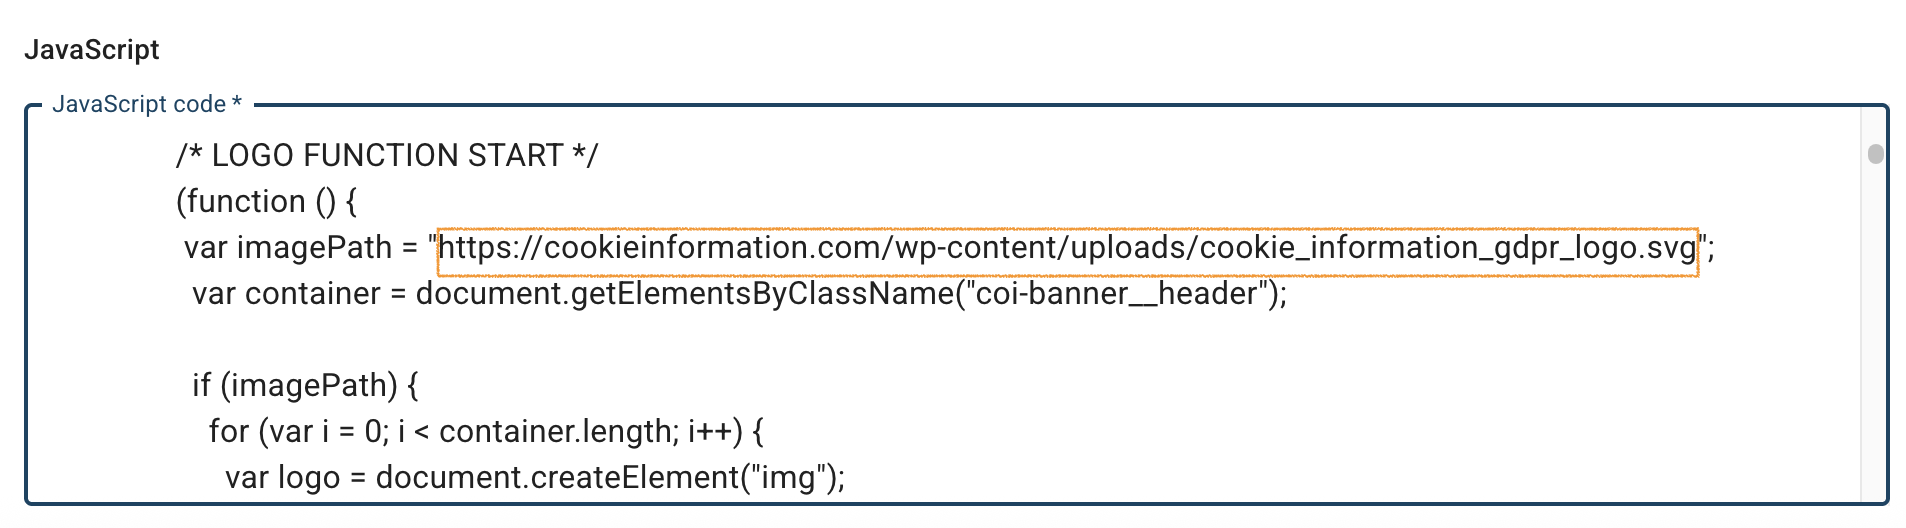
6. In Template code, go to JavaScript.
7. In JavaScript, replace the URL path with the one for your logo in the imagePath variable.

8. (Optional) Adjust the image width by setting the value in pixels (px) in the logo.style.width variable.

9. Click Save and publish.
10. Done.
Remove a logo
To remove a logo from the consent popup, follow these steps:
1. In Consent solutions, findthe consent solution where you want to remove the logo.

2. Go to Consent popup > My templates.
3. Find the consent template where you want to remove the logo.
4. Click the ⋯ three-doticon next to the template name you want to change, then click Edit.
5. In In Template code, go to JavaScript.
6. JavaScript, remove the URL path to your logo, for example, https://cookieinformation.com/wp-content/uploads/cookie_information_gdpr_logo.svg, from the imagePath variable.
6. Click Save and publish.
7. Done.