Cookie Information offers important features to help with privacy compliance, including privacy controls that let you view and customize your consent settings.
In this article, we’ll show you how to set it up and adjust it later if you need to.
Before you start
Here are a few things to know before you start:
- Before adding privacy controls to your website, check that the consent popup is set up.
- Make sure that the languages set in the script’s
data-cultureattribute match the languages set up in the platform. To check the setup, go to Consent solutions > Choose your consent solution> Settings > General.
Set up privacy controls
To set up the privacy controls, follow these steps:
- Add the privacy controls’ code
<div id="cicc-template"></div>to your web page’s. Add the code in the<body>tag of the page where you want to show it. - Done.
Adjust privacy controls
To adjust privacy controls, follow these steps:
- Log in to Cookie Information.
- In Consent solutions, choose the one you want to update privacy settings for.

- Go to Consent popup.
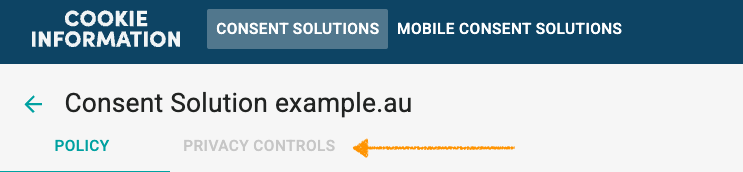
- In Cookie policy and privacy controls, click Edit in old view. You’ll be redirected to the old UI while we continue developing the new one.
- Navigate to PRIVACY CONTROLS.
- In Privacy Controls, go to Advanced Settings.

- In HTML definition of Privacy Controls, you can change the layout, button placement.
- In Cascading Style Sheets (CSS), you can adjust styles, colors, rounded edges, fonts, etc. Example: You want to change the toggle color. In CSS, find the following CSS selector
.switch-container__category-checkbox:checked + .switch-container__slider:after - In
background-color:, replace the current HEX value with the HEX code of your desired color.

- Click SAVE & PUBLISH.
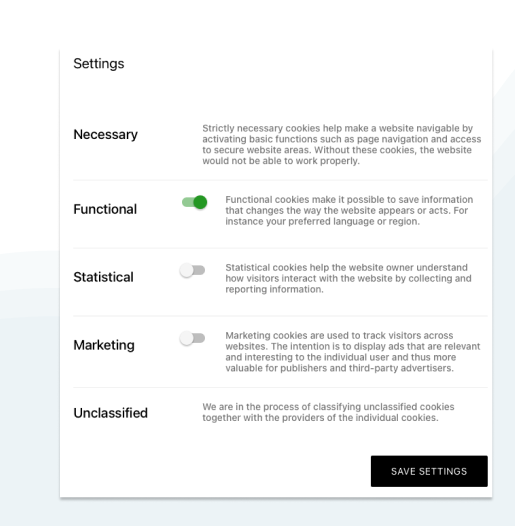
Here’s an example of the consent settings you can adjust in Cookie Information privacy controls:
- Done.