A domain is the unique name or address of a website on the internet, like example.com. It’s what users type into their browser’s address bar to visit a website.
In this article, we’ll show you how to add and edit a domain.
Before you start
Here are a few things to know before you start:
- You can add, edit, or delete domains. Each action can affect your Cookie Information setup and billing. Public test and internal test domains are free of charge.
- You can choose between public, public test, and internal test domain types. The type you select determines how the system will scan it, display it on the popup and if consent will be collected.
- You can’t change the type of the existing domain. Public domains are included in your subscription plan limits and incur charges, while test domains are excluded from limits and charges.
| Domain type | Scanned | Listed in popup | Consent collected |
|---|---|---|---|
| Public domain | ✔ | ✔ | ✔ |
| Public test domain | ✖ | ✔ | ✔ |
| Internal test domain | ✖ | ✖ | ✖ |
Add a domain
To add a domain, follow these steps:
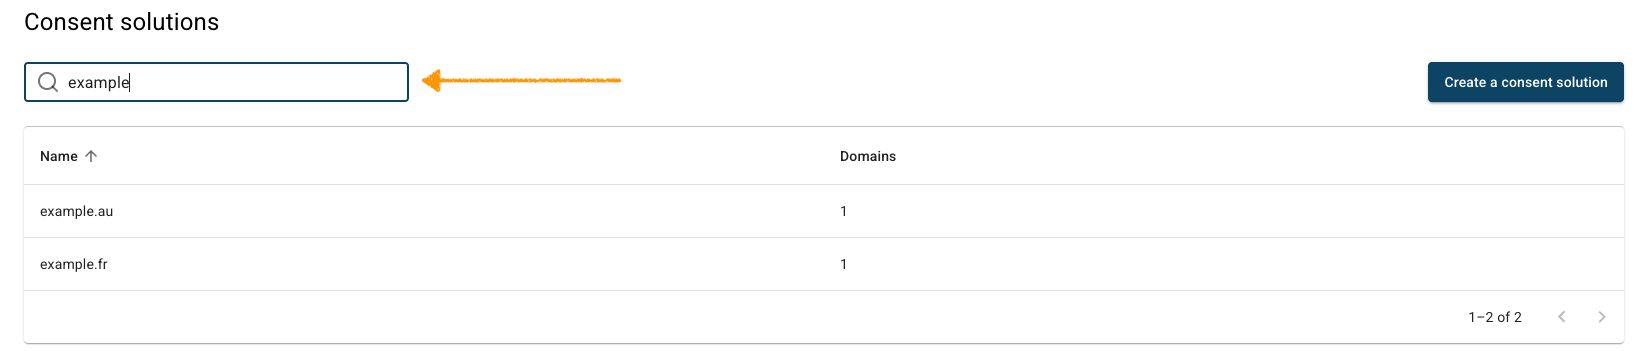
1. Go to Consent solutions.
2. Find the consent solution where you want to add the domain.
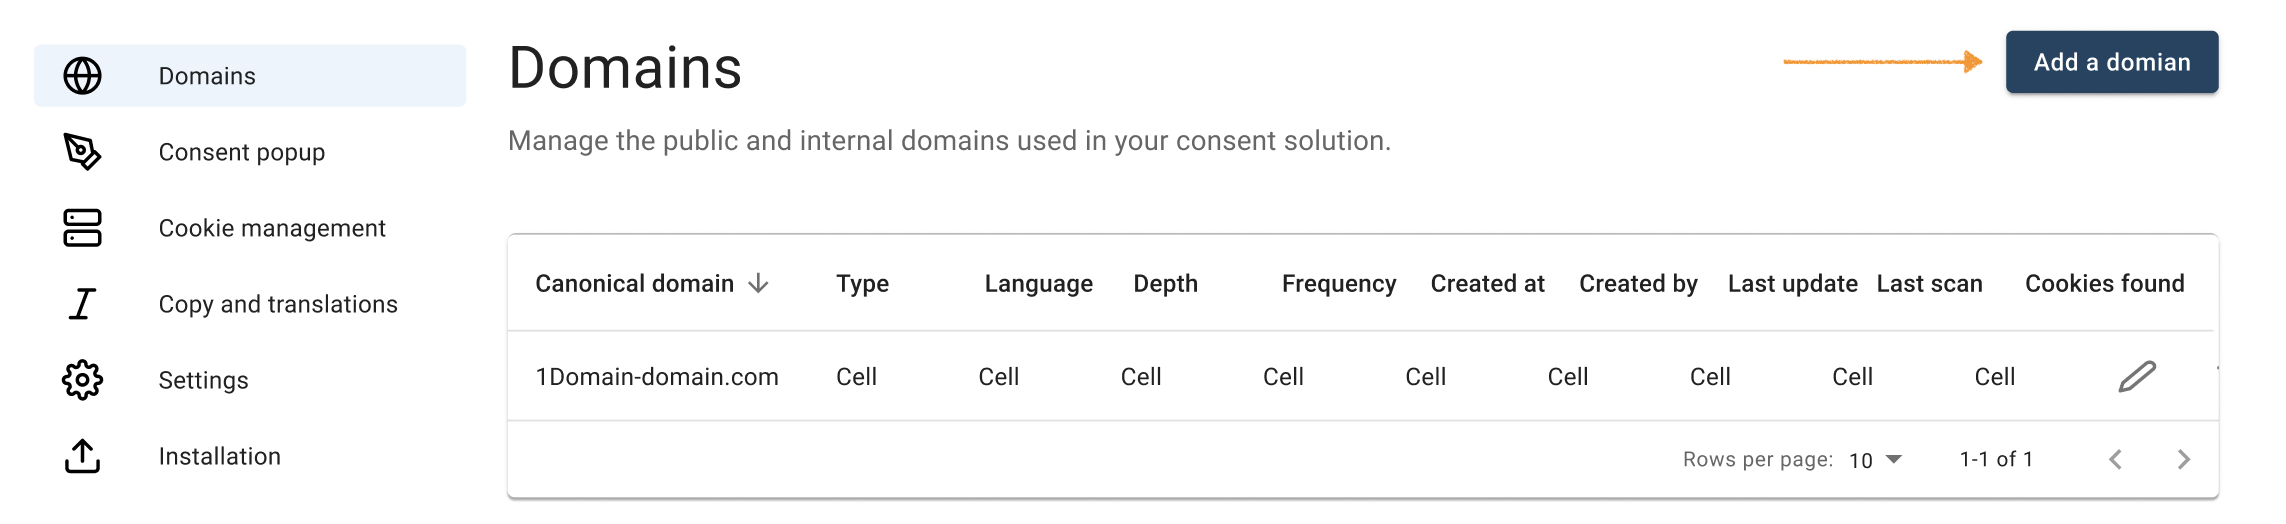
3. In Domains, click Add domain.
4. In Domain information, enter the website URL where you want the cookie banner displayed.
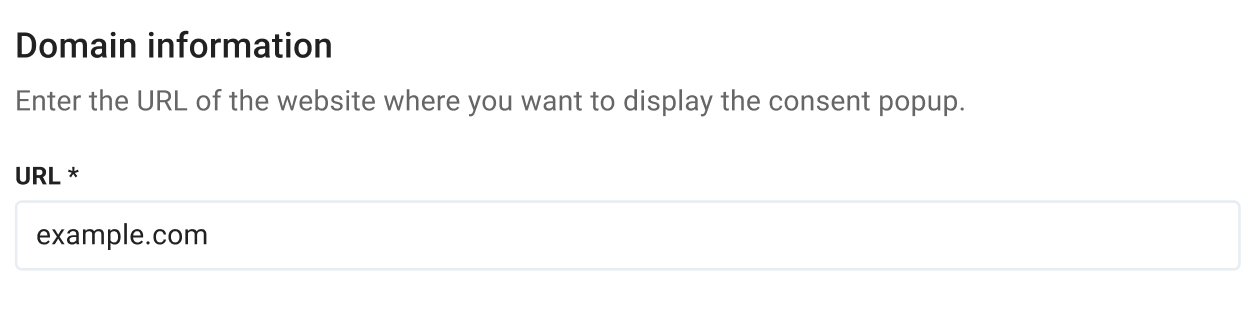
Note:
- In the Domain URL, you have to enter a root domain without http:// or www, for example,
test.cookieinformation.com. - To change the domain URL, remove the domain first, then add it again.
5. Choose the domain type: public, public test, or internal test domain.
Note: Once you set the domain type, you can’t change it later.
6. In Scanner settings, choose a tier to define how often to scan your domain and how many subpages you want to check. (Available only for public domains).

Note:
- Scanner settings are available for Cookie Banner and Enterprise plans. Your plan determines how often we scan your domain and how many subpages each scan includes.
Cookie Banner plans include Base, Plus, and Expert. Depending on your plan, you can scan up to 500, 5,000, or more than 15,000 URLs. If you’re not sure how many subpages your site has, search Google forsite:yourdomain.comto estimate the number of results.
For more information, see our pricing. - Domain-specific depth limits apply to each domain separately, whether the domains belong to the same consent solution or different ones. If you’ve reached the maximum number of public domains in your plan, you’ll need to upgrade your subscription to add more.
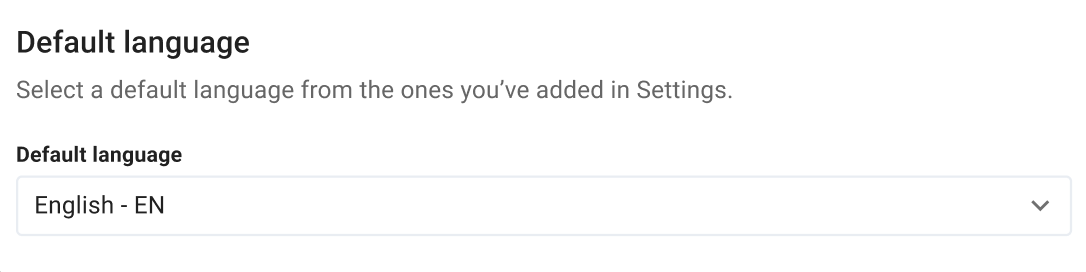
7. Select a default language from those you set in Settings.

8. Click Save.
9. Done.
Edit a domain
To edit a domain, follow these steps:
1. Go to Consent solutions.
2. Find the consent solution where you want to edit the domain.
3. Go to the domain you want to edit and click the pencil icon.
Note: You can’t change the type of the existing domain.
4. In Scanner settings, choose a tier to define how often to scan your domain and how many subpages you want to check. (Available only for public domains.)

Note:
Scanner settings are available for Cookie Banner and Enterprise plans. Your plan determines how often we scan your domain and how many subpages each scan includes.
Cookie Banner plans include Base, Plus, and Expert. Depending on your plan, you can scan up to 500, 5,000, or more than 15,000 URLs. If you’re not sure how many subpages your site has, search Google for site:yourdomain.com to estimate the number of results.
For more information, see our pricing.
5. Select a default language from those you set in Settings.
6. Click Save.
7. Done.